- Graphisoft Community (INT)
- :
- Knowledge Base
- :
- Collaboration with other software
- :
- Importing and Editing SketchUp Objects – the Whole...
- Subscribe to RSS Feed
- Mark as New
- Mark as Read
- Bookmark
- Subscribe to Topic
- Printer Friendly Page
- Report Inappropriate Content
Importing and Editing SketchUp Objects – the Whole Story
- Subscribe to RSS Feed
- Mark as New
- Mark as Read
- Bookmark
- Subscribe to Topic
- Printer Friendly Page
- Report Inappropriate Content
2022-04-28 04:57 AM - edited 2022-04-28 04:59 AM
It’s been mentioned many times regarding Archicad that any type of element, object or opening can be freely created or imported and customized with it. There are many workflow descriptions in general, but most of them cover only parts of the workflow, so when you actually want to do it you realize that you will need to go into the details of GDL scripting and coding if you need a decent 2D view of your objects or if the 3D is too detailed, which can easily be a few of those top things to freak out an architect with. The good news is… the fuss is NOT a must!
Importing SketchUp models and fine tuning them in Archicad we can save the modelling time and also customize our objects to our taste to create amazing visuals or use real manufacturers’ products without even being advanced level users.
The Archicad Help Center contains the relevant articles about the steps of the workflow: importing the objects, editing the GDL scripts and improving the 3D, which show that we can go into endless details, so let’s save some time by focusing on those that are actually necessary for us – and those missing links that are not mentioned at all – in one post.
The sample file was downloaded from the SketchUp 3D Warehouse – whenever you acquire models from there, make sure that you download them as SketchUp 2019 models, as Archicad 25 can handle those or earlier formats only.
1., Start by either opening the .skp file for a brand new project file for editing or simply merge it to an existing project by File/Interoperability/Merge/Merge from file…. No need to bother with settings and location on the plan, just open and drop it somewhere.
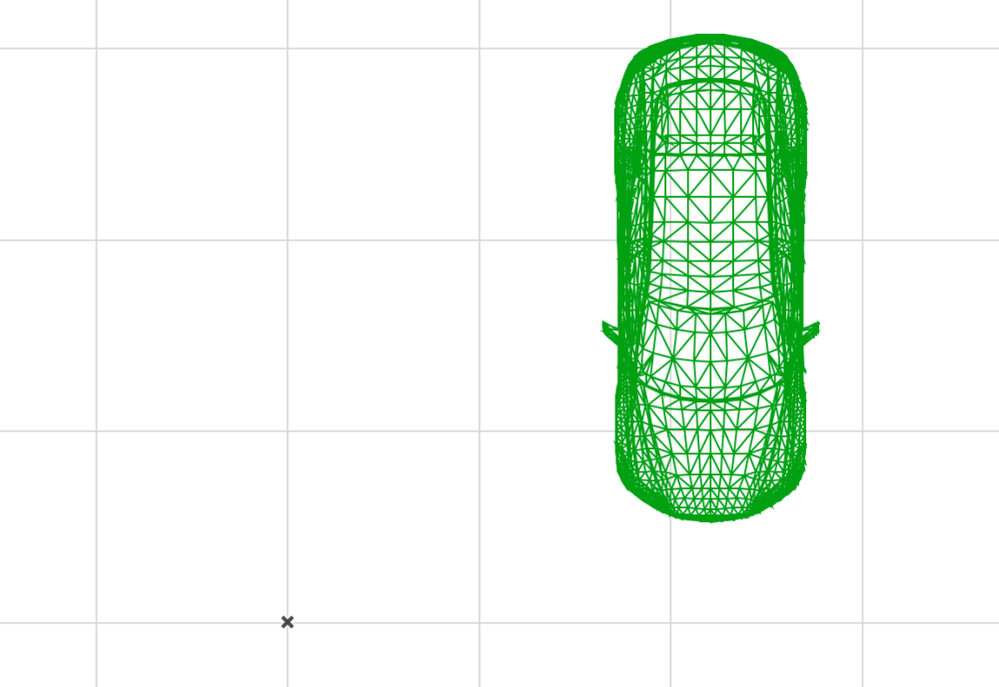
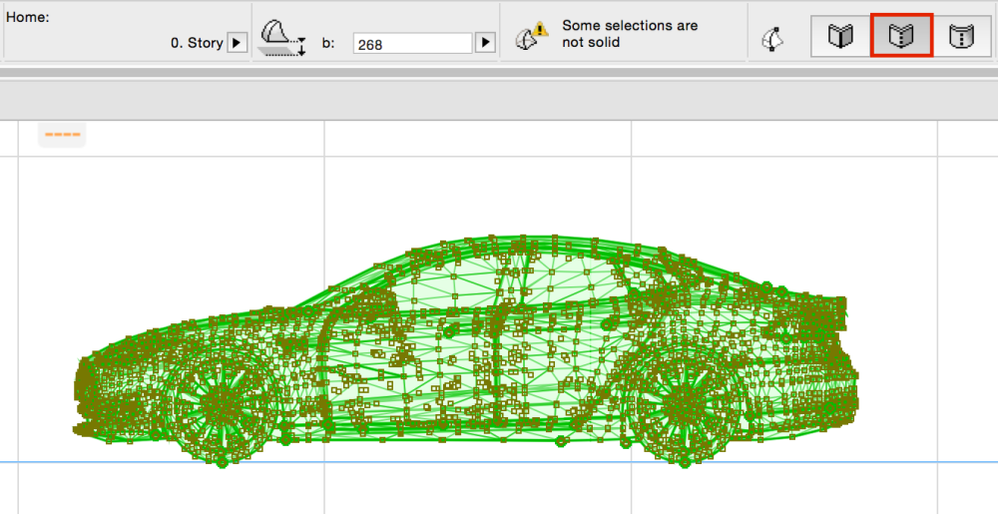
The floor plan view is too detailed, 3D is OK, but elevations are also affected. In general, floor plan views are not truly projected, unlike elevations/sections, but this is special content, so we see the same level of detail. If you want to clean up the elevation as well it’s best to start with that part, if not you can skip to step 3. To fix the side views we need to change the level of detail of the 3D.
1., Select the object and use Convert Selection to Morph(s) from the context-menu and change its edge settings to Hidden – triangulation gone!
2., The floor plan representation of the Morph is quite different then earlier but still needs cleaning. Let’s save the Morph back to an Object and tweak those GDL settings!
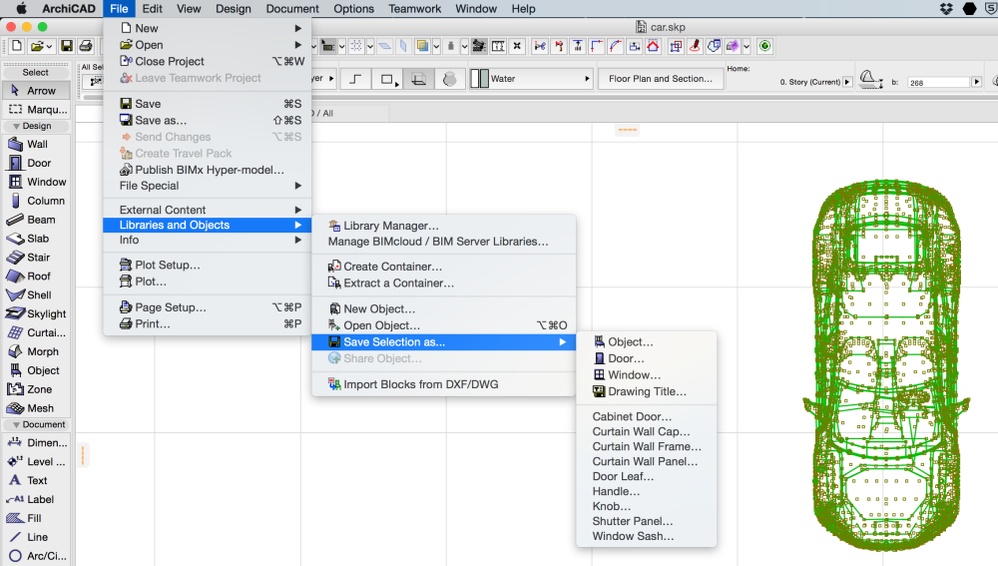
Select the object and use the Save Selection as…/Object… menu command. Leave the settings as they are.
3., When saved, use the Object tool and place an instance of the newly saved object and place it into the floor plan. Select it and use the File/Libraries and Objects/Open Object menu command. – the GDL Editor opens.
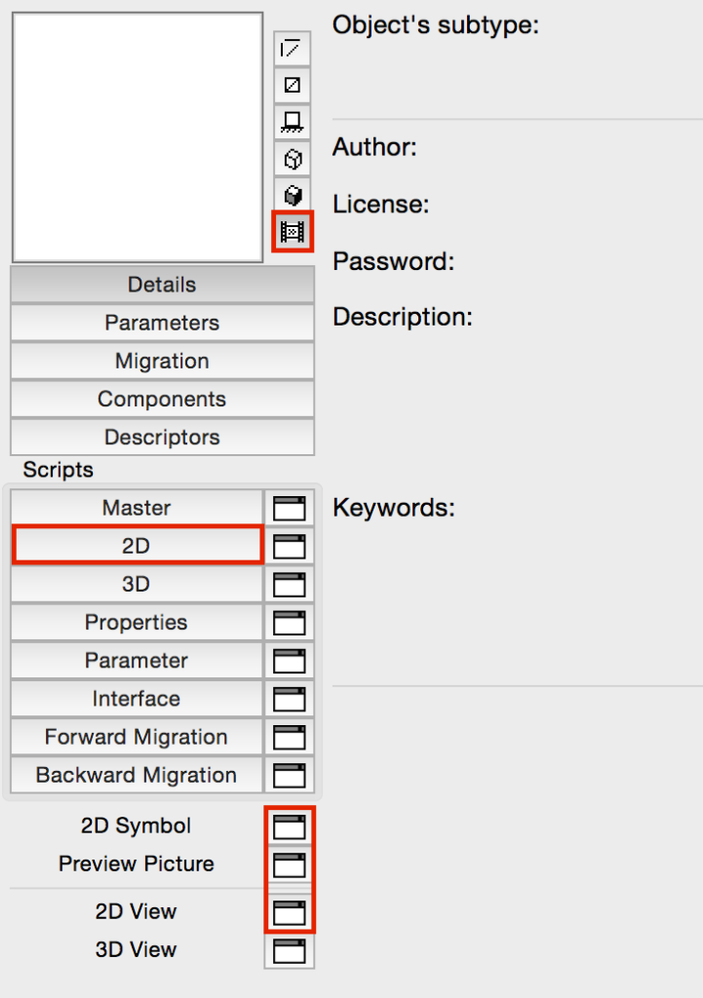
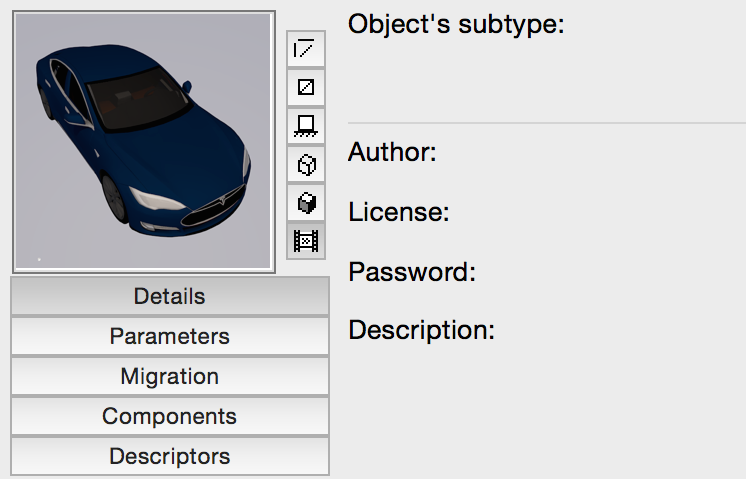
- The top left gives you options for the previews, you will see that there is no preview image available for this object.
- The 2D below Scripts will show the GDL script for the 2D view which is generated from this script. Or the graphical elements of the 2D Symbol button, if there are any. The 2D Symbol is now empty, such as the Preview Picture.
- The 2D View will show the actual look, which is currently the result of the script. Note that actual editing of the view is not possible in this window.
3., Let’s switch back to the 2D on top, the cursor will be flashing in the script so just select the whole script content and delete it. The 2D View would be empty now as there is nothing to generate the view from.
4., We will draw the symbol ourselves, even better: copy the actual floor plan view since it is almost good, it is just too detailed. Switch back to the floor plan on the Tab Bar and right-click, then Copy on the selected element.
5., Switch back to the GDL Editor and go to 2D Symbol, right-click and Paste. Make sure you paste the content to the original location, in case you are zooming in too much. Now the 2D View is generated from 2D elements, not a script and this way it is editable!
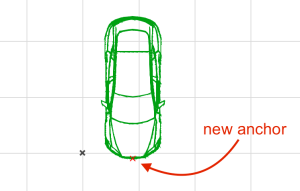
6., Clean up the 2D by selecting and deleting the unnecessary lines. This might take some time depending on the quality of the model. You can also define new anchor points of the object by using the Hotspot tool or even add new drafting elements to be part of the symbol.
7., We can define a preview picture as well. Switch back to the 3D window and render the image, best if you define a neutral background and a square shaped image.
8., When done, right-click and Copy the rendered image and switch back to the tab of the Preview Picture. Use Edit/Paste from the menu to insert the rendered image which will also appear in the main Editor dialog.
9., Now you can close the tabs of the GDL Editor and save the object, all views/representations will change accordingly.
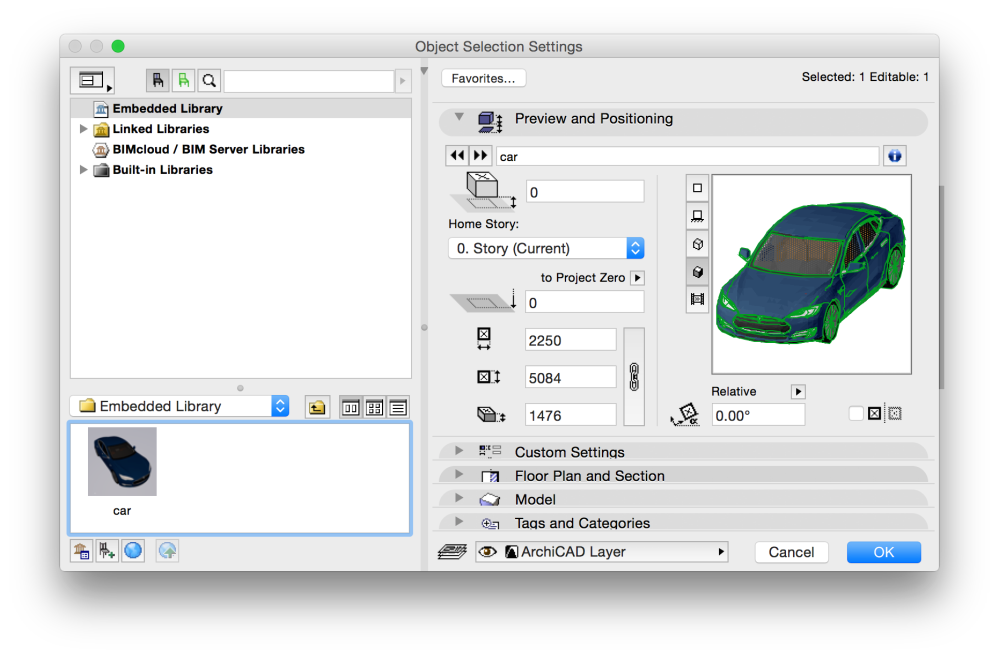
Opening the Object settings you can check the result – clean 2D and 3D, within minutes.
