- Graphisoft Community (INT)
- :
- Knowledge Base
- :
- Getting started
- :
- How to Model Walls in Archicad
- Subscribe to RSS Feed
- Mark as New
- Mark as Read
- Bookmark
- Subscribe to Topic
- Printer Friendly Page
- Report Inappropriate Content
How to Model Walls in Archicad
- Subscribe to RSS Feed
- Mark as New
- Mark as Read
- Bookmark
- Subscribe to Topic
- Printer Friendly Page
- Report Inappropriate Content
on
2019-10-14
01:56 PM
- edited on
2021-11-17
09:12 PM
by
Emoke Csikos
To be able to practice what is discussed in this article, it is best if you start a new project. Go to The Archicad Interface to learn how to start a new project.
The Wall Tool
Walls are one of the basic construction elements in Archicad. You can create walls with any form using the Wall Tool. First, let's select the Wall Tool which is in the Design section of the Toolbox.
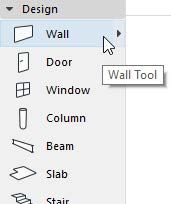
There are four main Geometry Methods of the Wall Tool:
Straight, Curved, Trapezoid, and Polygonal.

If you keep pressing the button of the Straight or the Curved Geometry Method, further Geometry Method options are offered.
These are the same as those already discussed in detail at the Line and the Arc/Circle Tools in Drafting Basic 2D Elements:
Straight

- Single
- Chained
- Rectangular
- Rotated Rectangular
Curved

- Centerpoint and Radius
- Circumference
- Tangential
You can also enter the wall thickness which applies to the whole wall length by entering the value in the Info Box.

Note: The wall thickness value is given in the unit that was set in Options › Project Preferences › Working Units as also mentioned in Drafting Basic 2D Elements.
The Info Box contains many different types of information. If you hover the mouse over the Info Box and scroll using the middle mouse button, you can scroll in the content of the Info Box.
Geometry Method: Straight
Select the Straight Geometry Method. Keep pressing the left mouse button…

…until the small pop-up palette appears. Now you can access further options. Keep the mouse button pressed, move the mouse over the option you need and release the button. Select the Single option for now.

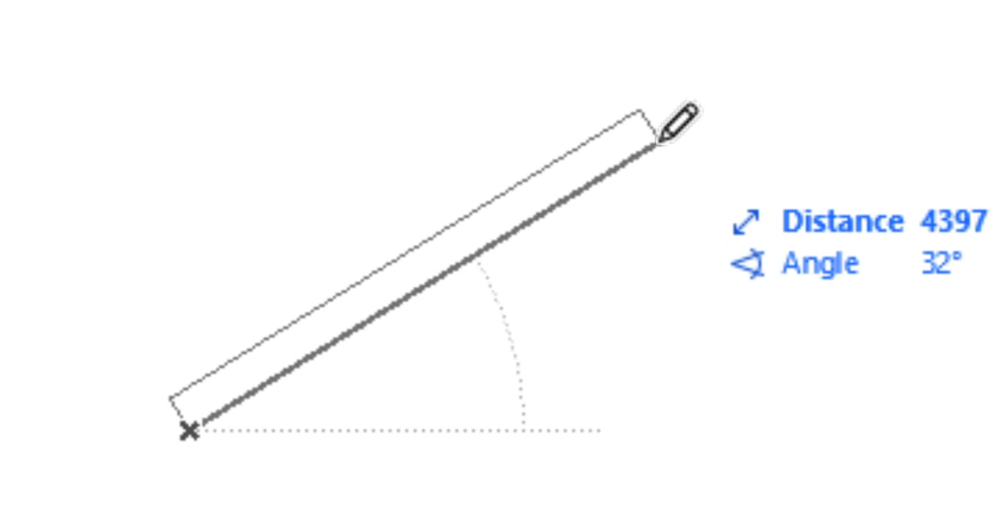
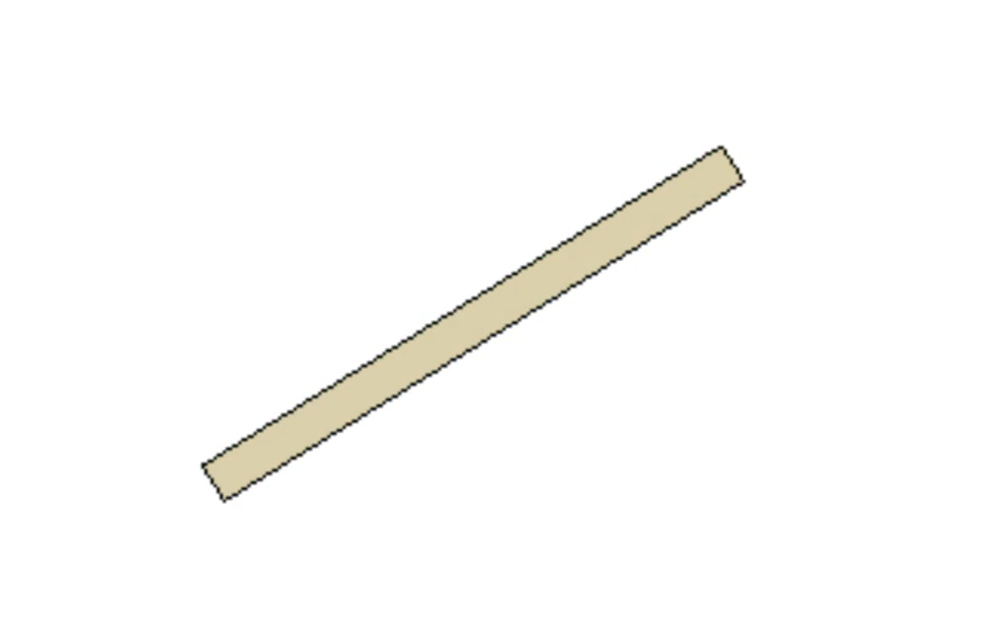
Start drafting a wall the same way as you would draw a line. You can learn how to draw lines from Drafting Basic 2D Elements. Archicad automatically generates the wall based on the line you draw and the thickness you set.
Geometry Method: Curved


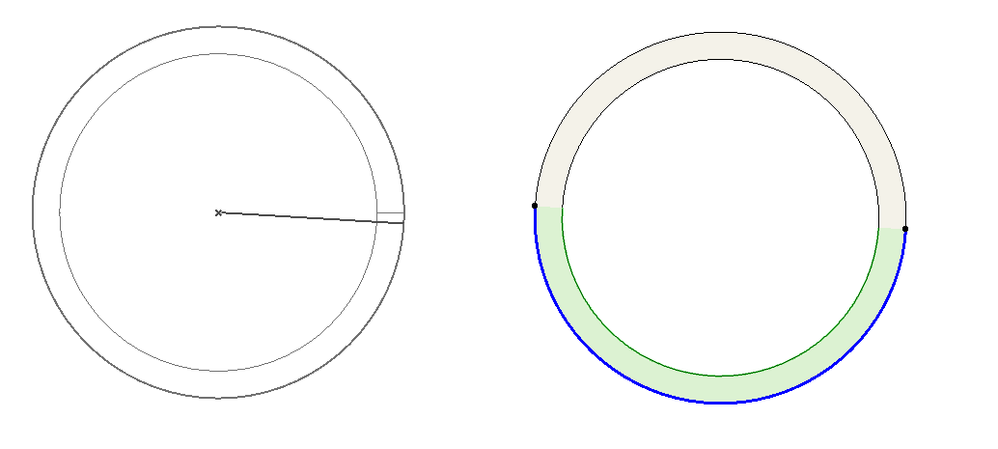
Drafting curved walls goes the same way as drafting circles/arcs. You can learn how to draw circles/arcs from Drafting Basic 2D Elements. It is good to know that each element, based on a line or an arc/circle, has two endpoints. Please note that because of this, the fully closed circular wall, that you draw as one circle, will consist of two half-circles.
Geometry Method: Trapezoid

The trapezoid (or non-parallel) method allows you to create straight walls, the thickness of which is not constant. This is practical if you model old buildings. You can define the wall thickness by using the “Wall Thickness” fields in the Info Box.

Examples:

Geometry Method: Polygonal

If you are interested in learning how to model a polygonal wall, read this User Guide.
Please note that you have to select the Basic Structure option for the Wall Tool to be able to model a polygonal wall. If the Composite or Complex Profile Structure is selected, the Polygonal Geometry Method is disabled. Structure types will be discussed later in another article.

Watch this video that shows you an example of the Polygonal geometry method :
Reference Line and Wall Geometry
Walls have a special feature, called the Reference Line. You create a wall by drawing its Reference Line. The wall’s contours and 3D body are created based on the Reference Line and the settings of the Wall Tool. (Tool settings will be discussed later in another article.) If the wall's thickness is later changed, the Reference Line stays in place and the contours move accordingly.
During the drawing process (also called input), you can see the thick Reference Line. The thin lines are generated based on the thickness of the wall. When you are done with modeling the wall, the Reference Line is not visible anymore. This is so by default. To make it visible on the floor plan constantly, turn on the Wall & Beam Reference Lines at View > On-Screen View Options > Walls & Beams Reference Lines.

The position of the Reference Line will be visible. The small arrow indicates the direction of the wall.

Cursor Shapes
Learn the basics of the Intelligent Cursor of Archicad in The Smart Cursor.
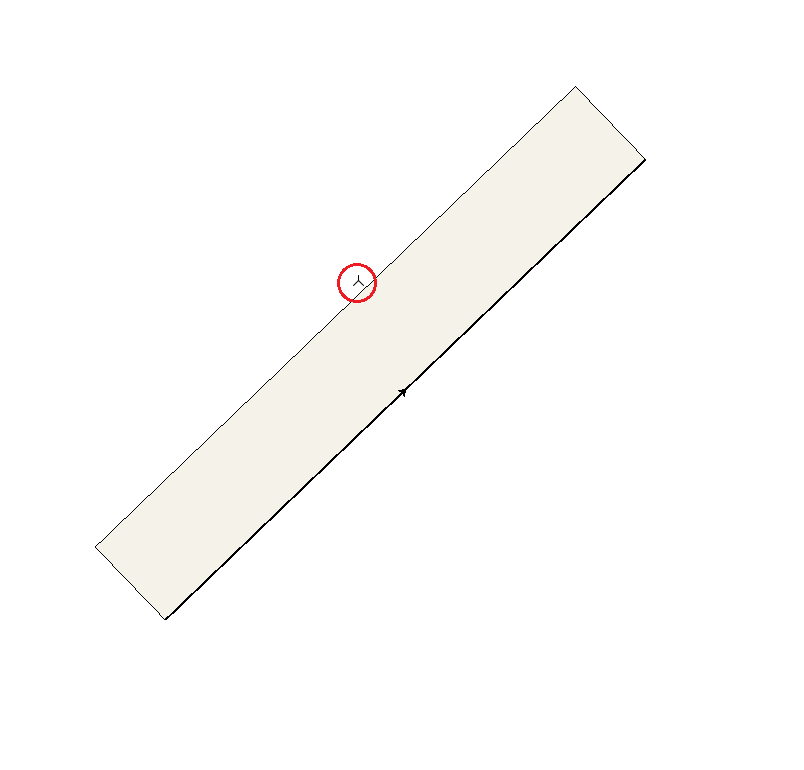
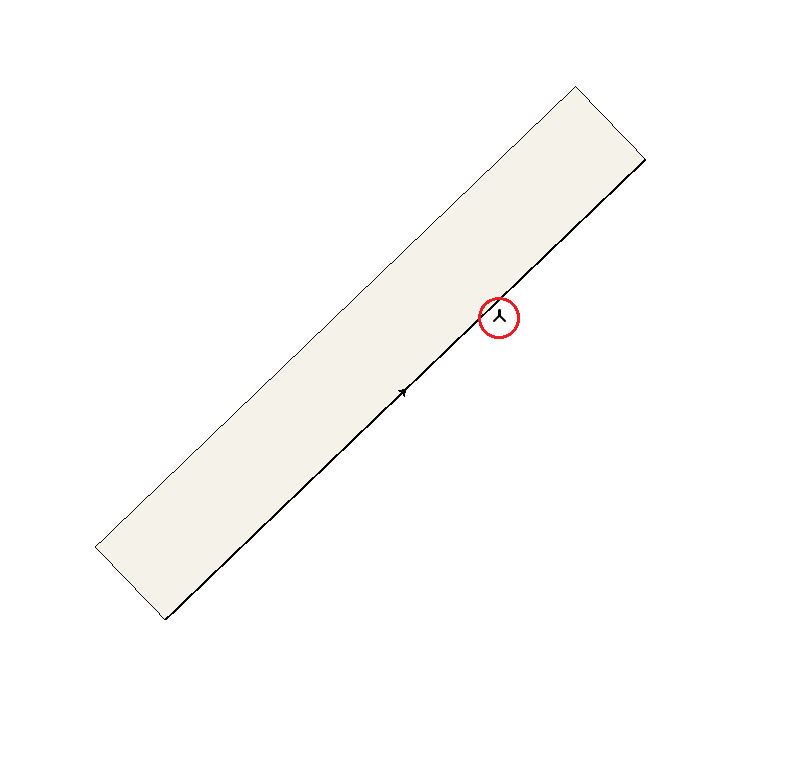
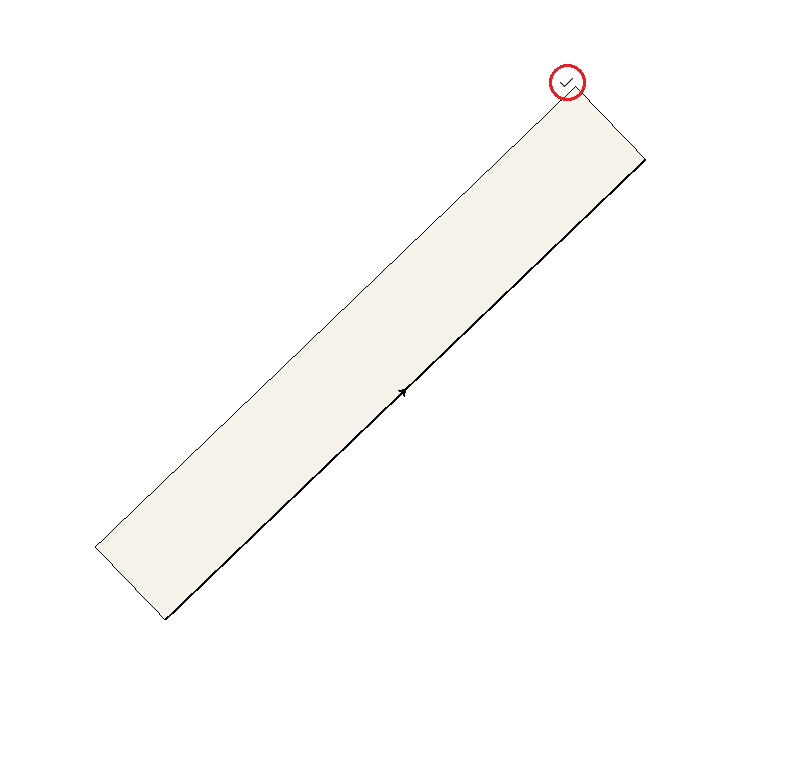
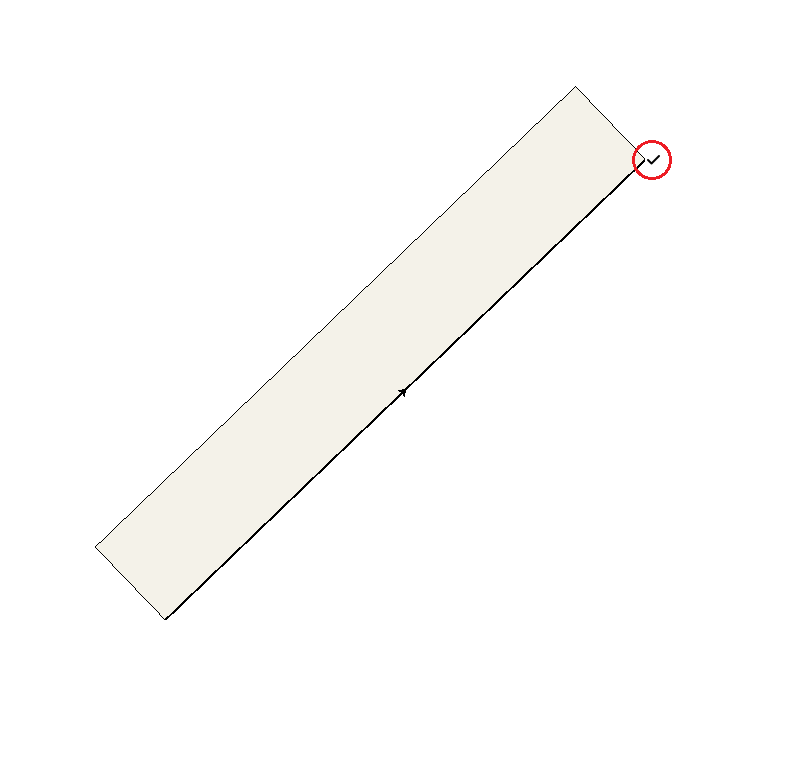
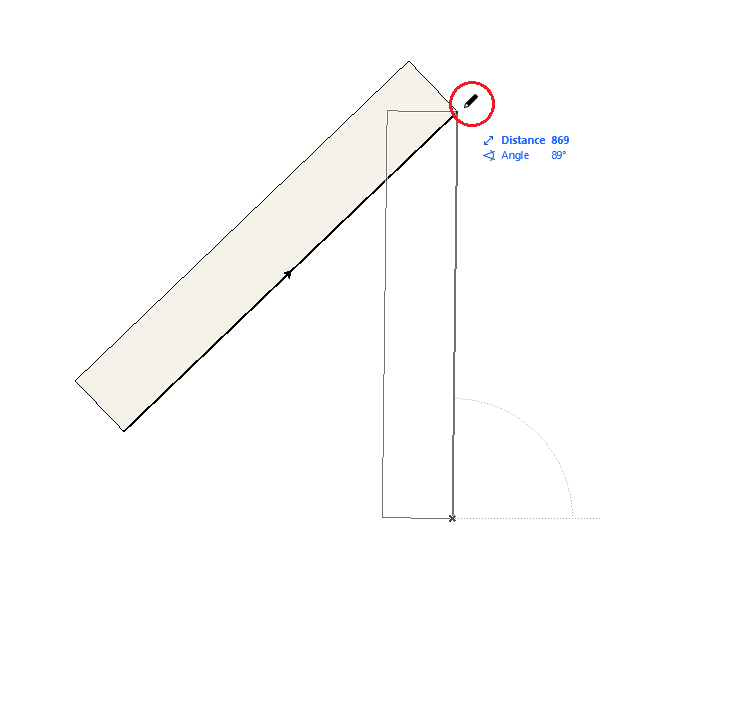
If you slowly move your cursor over the wall, you will see that the cursor becomes bold over the Reference Line.
-
over the edge of the wall -
over the Reference Line
-
over a node of the wall -
over an endpoint of the Reference Line
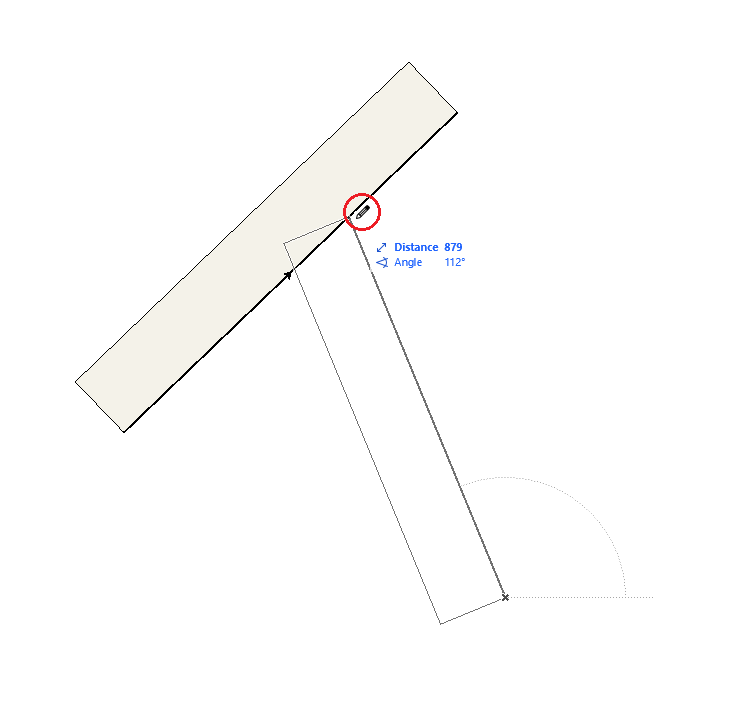
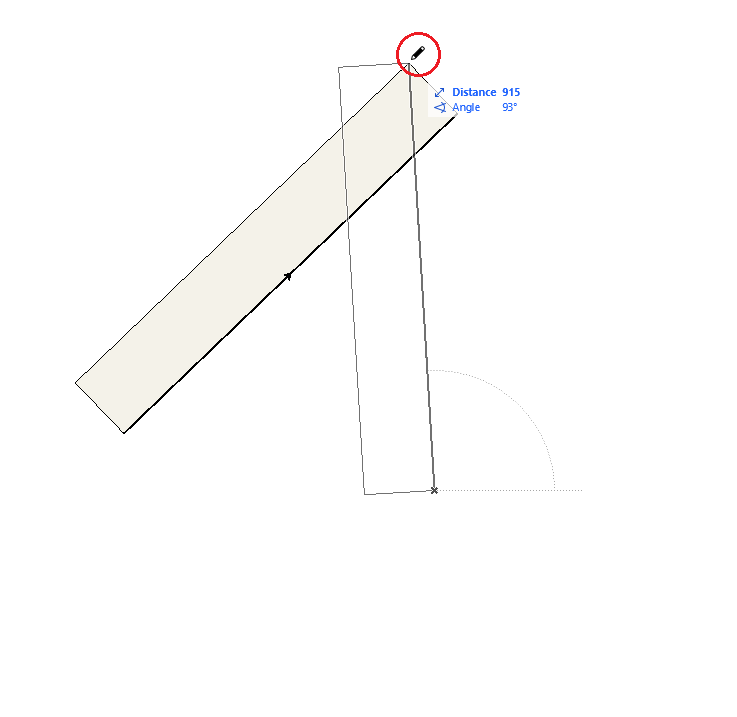
While you are drawing, you can always check if the cursor is on the Reference Line by looking at the end of the pen…
…it should be black.
Note: To be able to focus on observing the cursor shapes and not get distracted by the blue highlights of snap guides, please turn off Snap Guides and Points. They are turned on by default:

Summary:

Wall Intersections
For correct wall junctions, their Reference Lines must also intersect. So, always make sure that they are touching each other. By default, the Auto Intersection under Options Menu point is activated.
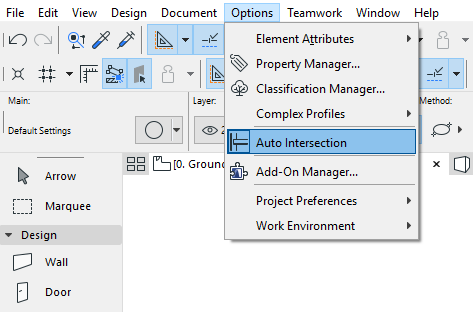
This means that Archicad automatically increases or reduces the length of the Reference Line up until the Reference Line of the other wall, so they intersect.
Watch the video below to see how walls are connected with the help of the Auto Intersection function:
You can read more about how walls are connected in this article.
- 5 tools in Graphisoft MEP Designer to make editing easy in MEP
- Catch design issues early: quality assurance with Graphic Overrides in Archicad in Project data & BIM
- Import architectural models or 2D drawings into Graphisoft's MEP Designer in MEP
- Publish (Save) layouts and documentation with Publisher Sets in Archicad in Documentation
- Multiply elements in Archicad in Modeling
