Turn on suggestions
Auto-suggest helps you quickly narrow down your search results by suggesting possible matches as you type.
Showing results for
Turn on suggestions
Auto-suggest helps you quickly narrow down your search results by suggesting possible matches as you type.
Showing results for
- Graphisoft Community (INT)
- :
- Knowledge Base
- :
- Visualization
- :
- How to create animated GIFs using ARCHICAD?
Options
- Subscribe to RSS Feed
- Mark as New
- Mark as Read
- Bookmark
- Subscribe to Topic
- Printer Friendly Page
- Report Inappropriate Content
How to create animated GIFs using ARCHICAD?
Graphisoft
Options
- Subscribe to RSS Feed
- Mark as New
- Mark as Read
- Bookmark
- Subscribe to Topic
- Printer Friendly Page
- Report Inappropriate Content
on
2016-10-04
06:23 PM
- edited on
2021-10-26
01:36 PM
by
Noemi Balogh
For visualising architectural concepts or a design process the usage of animated GIFs is getting more and more popular. No wonder, with a sequence of images you can provide a very clear explanation of your project's fundamental idea. The message of GIFs can't be missed, it is easy to understand, no extra application is needed for playing. It is really simple to create them, you need some good pictures and with a free GIF maker application you can merge these images into an animated GIF.
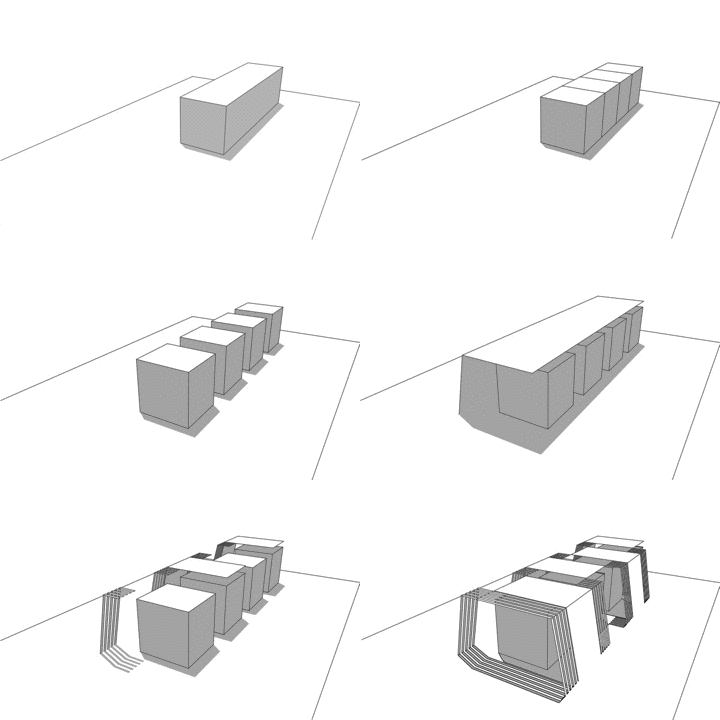 The only difficulty is the creation of the images. The animated GIFs describe a movement or a change in the project. The challenge is to get images showing the same viewpoint with a slight change of the content. Thanks for the filtering options in ARCHICAD it is very easy to handle this.

Basics
Provide a Consistent Viewpoint
Images for animated GIFs can be created with 3D Views, 3D Documents or 2D elements placed on Layouts. In the first two options placing a Camera or saving the current Zoom in the View Settings / 2D/3D Documenting / Zooming (don't forget to uncheck 'Ignore Zoom and Rotation when opening this View') makes sure that viewpoint remains the same. If you want to work with 2D elements the usage of Trace and Reference can be a great help in placing the elements in the right position.Change Something Within the View
After finding the fixed viewpoint save individual images witch changing content which will make the feeling of moving images. The most basic technics are the following:- hiding elements - good for presenting a design concept
- cutting the building - easiest way to present a construction process
- overriding colors - an analysis, a renovation or the design context can be described with this method
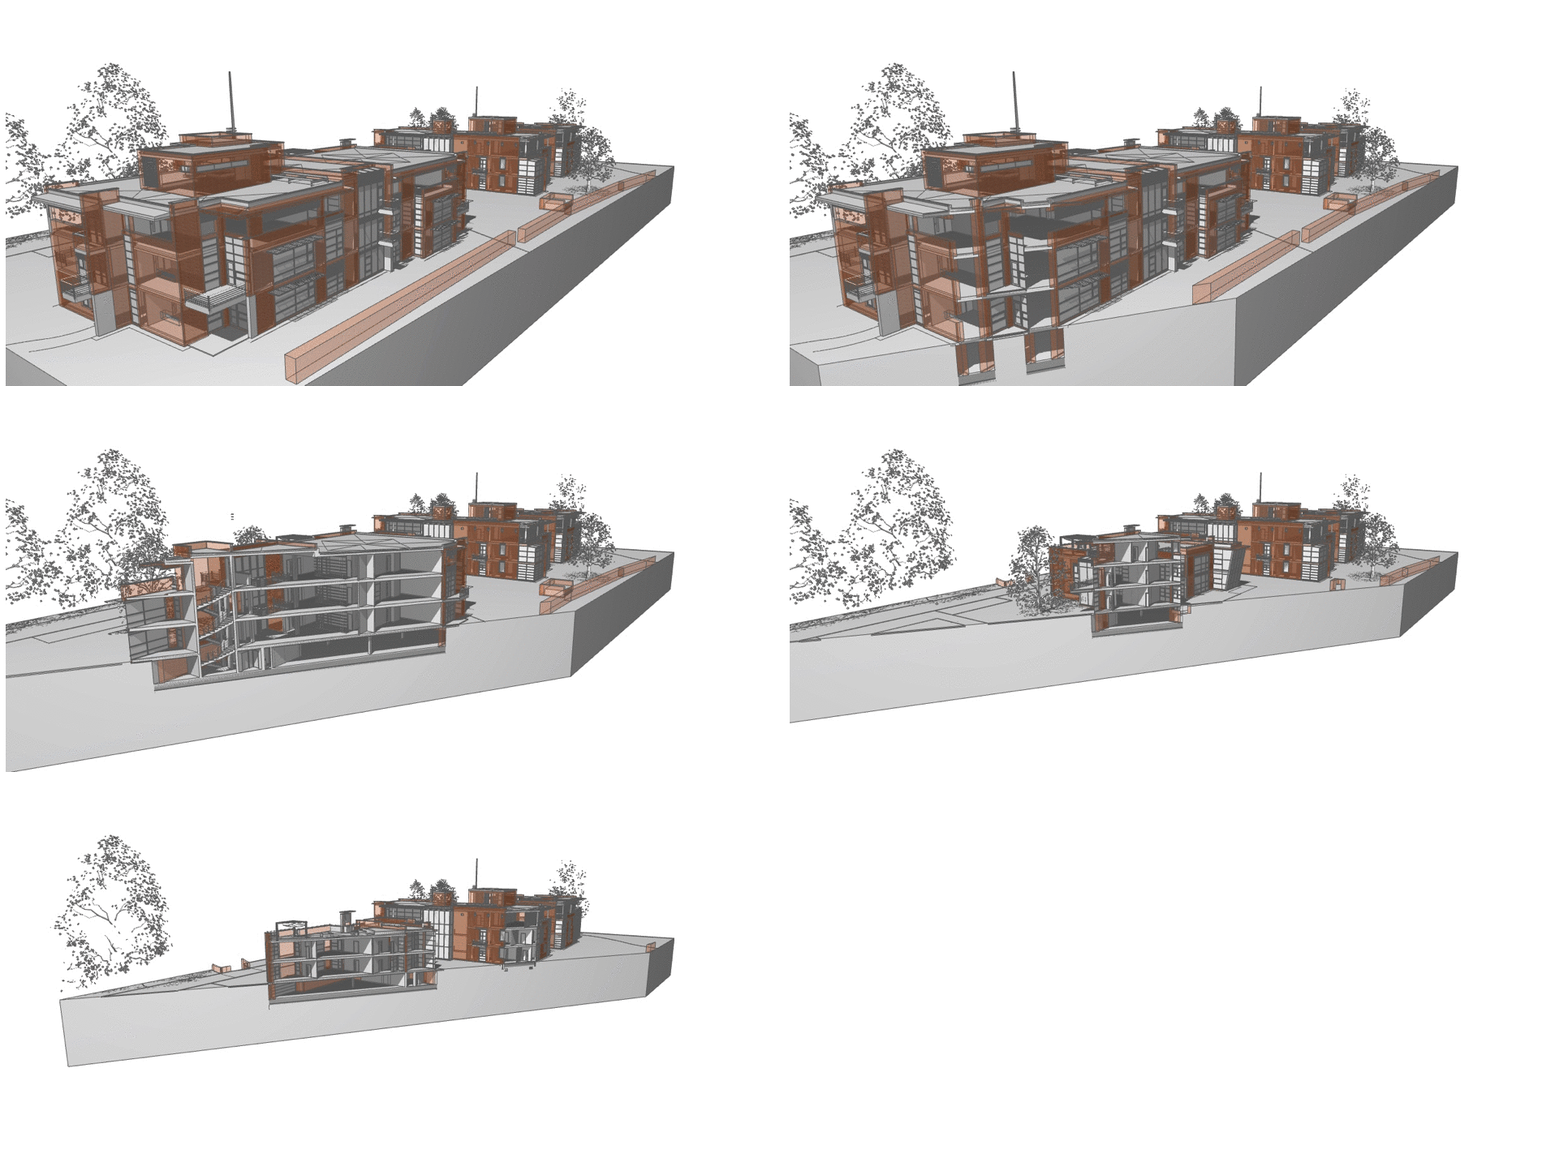
- 3D Cutaway
- Filter and Cut Elements in 3D
- Marquee with the Show Selection/Marquee in 3D command
Save Views, Publish the Views Set
After saving the 3D Views or 3D Documents (or being ready with the Layouts) a Publisher Set has to be done. In ARCHICAD the last step is publishing them into an image format.Create a GIF
In ARCHICAD you can publish Views in a GIF format but not as an animated GIF. For creating the animated GIF you need an external application. Almost every image editor application can create animated GIFs. There is also a wide range of free applications for this purpose.How to make similar GIFs?
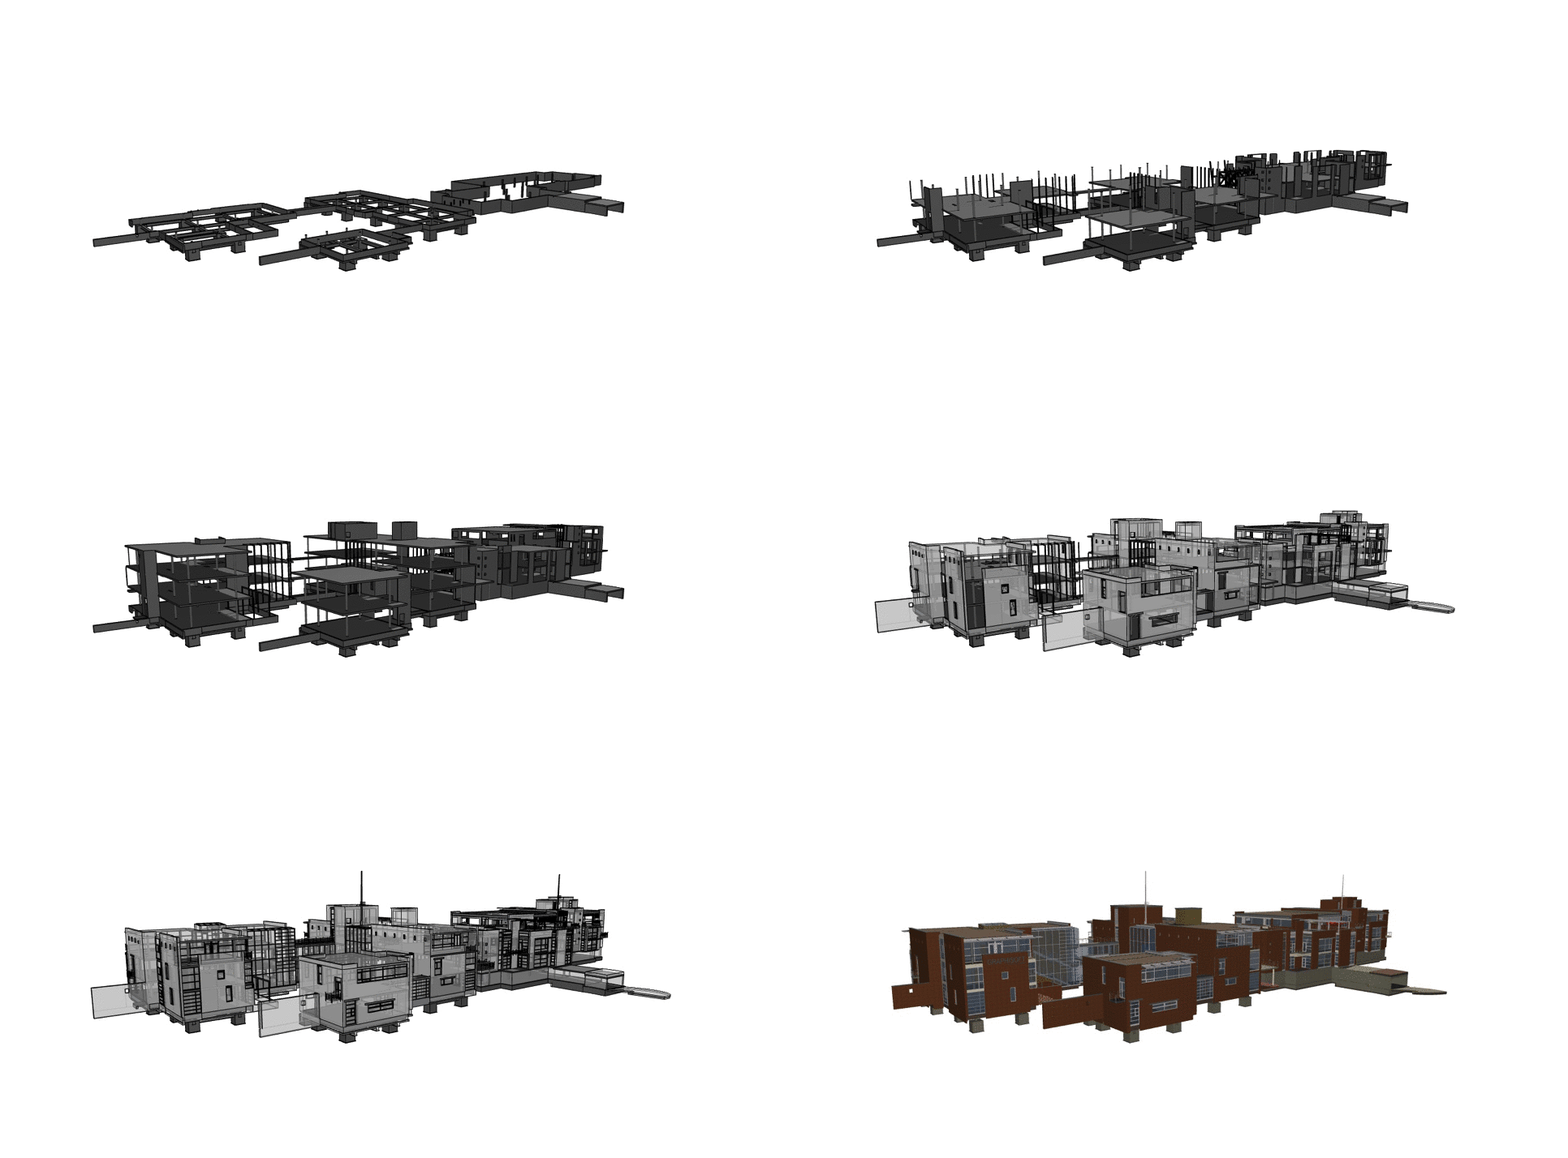
Presenting the Construction Process

- Prepare your project
- Make sure that in the Element Default Settings under 'Categories and Properties' the 'Structural Function' and the 'Position' is defined.
- Make sure that all the Composite Structures have a 'Core'
- Make sure that all the elements are assigned to a proper Layer
- Make sure that all the elements belong to the right Home Story
- Set up the View options
- Set up a proper Layer Combination
- Set up the Graphic Overrides Combination and Rules
- Create the 3D Views
- Find a good Camera View in 3D or save the Zoom within the 3D View
- For the first View do the following settings:
- Change the Partial Display Structure to 'Core of Load-Bearing Elements Only'
- Select the proper Graphic Override Combinations
- Use the Layer Combinations
- Activate the Filter and Cut Elements in 3D and change the option 'Stories to Show in 3D' to 'Limited' and set the required range. (example: From: Basement, To: Basement). Check the 'Trim Elements to Story range' as well.
- Save the View
- Repeat this workflow for all the other stories but with a different Story range (example: From: Basement, To: Ground Floor, then To: First Floor and so on)
- Set up the Publisher Set
- Create an animated GIF in a GIF maker application
General Visualization

- Set up the Graphic Overrides Combination and Rules
- Create the 3D Views
- Find a good Camera View in 3D or save the Zoom within the 3D View
- place Guide Lines or normal 2D Lines in the Floor Plan to define the location of the cutting planes. Place them by an equal distance. Based on the Guide Lines you can place the 3D Cutaway or you can use the Marquee Tool as well
- Show Marquee/Selection in 3D
- Repeat this workflow with all the other cuts
- Set up the Publisher Set
- Create an animated GIF in a GIF maker application
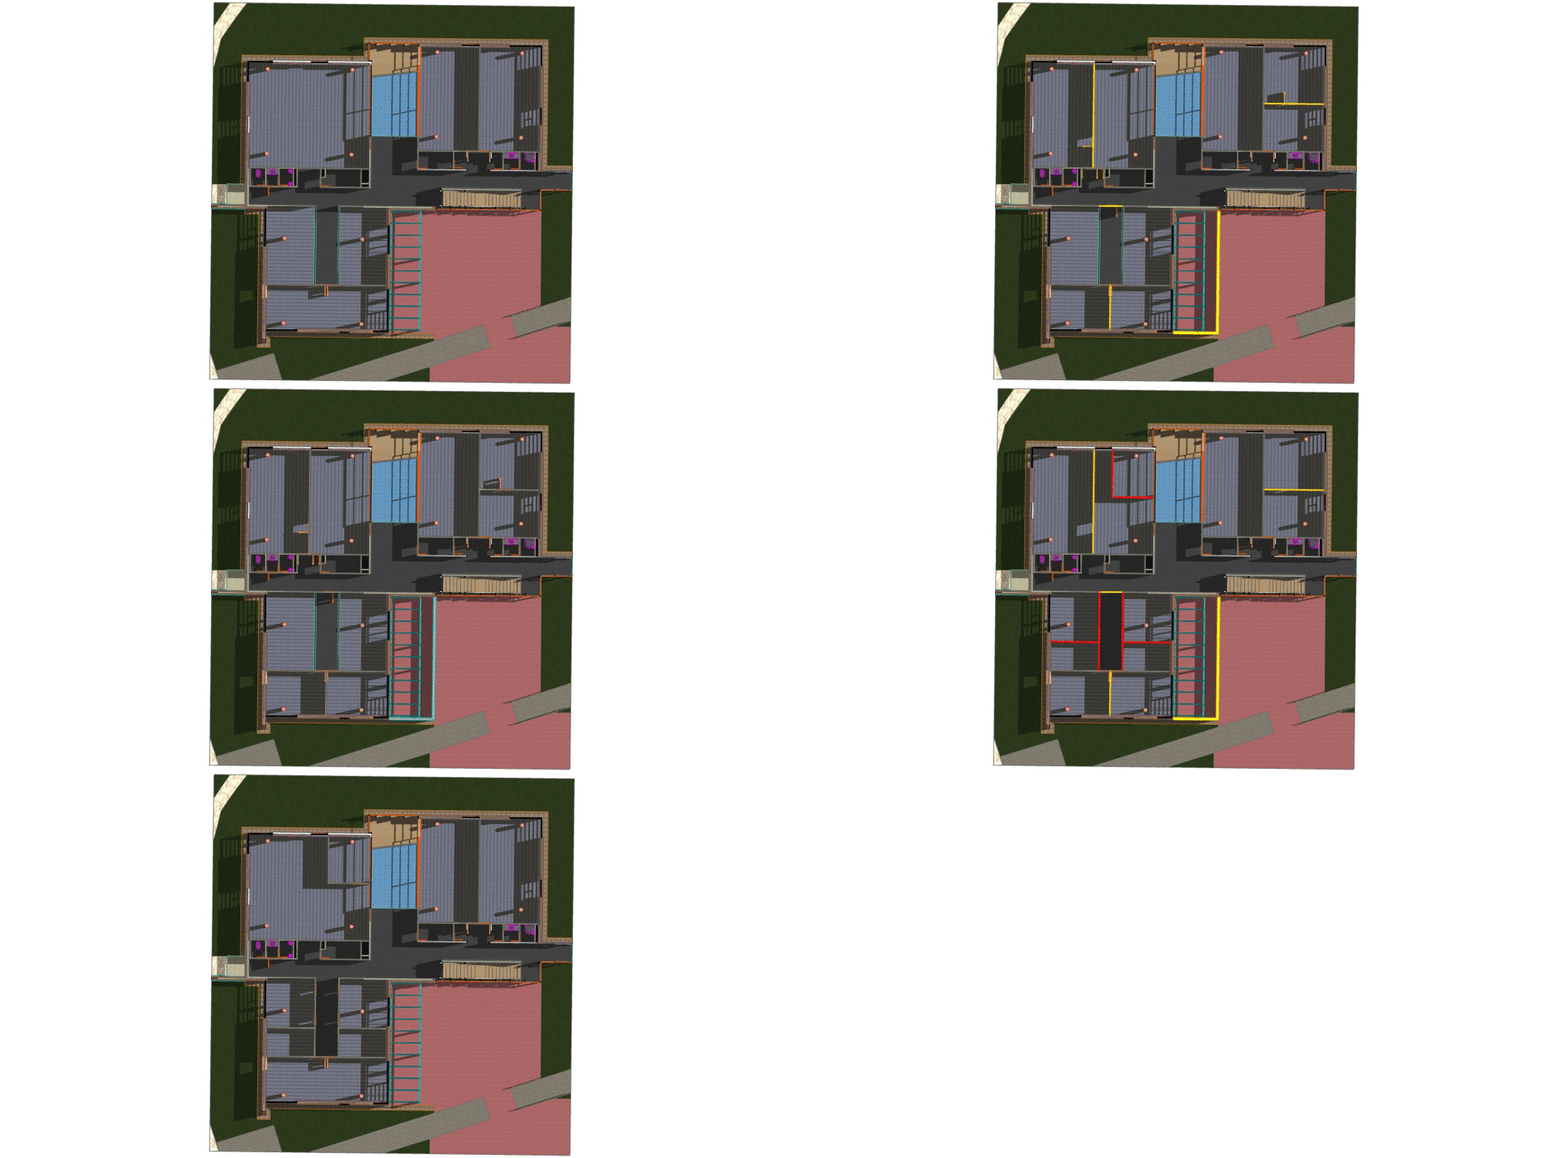
Renovation Process

- Define the Renovation Status of elements
- Create the 3D Views
- Set up a 3D Floor Plan using the Axonometry Top View (Tip: use the 'Look to Perpendicular of Clicked Surface' command)
- Cut the 3D model using 3D Cutaway
- Save Views with different Renovation Filters
- Set up the Publisher Set
- Create an animated GIF in a GIF maker application
GIF with 2D elements

Labels:
Related articles
- 4 Archicad shortcuts make rotations, copying, resizing, and style matching faster in Modeling
- Master PDF management in Archicad in Documentation
- Catch design issues early: quality assurance with Graphic Overrides in Archicad in Project data & BIM
- Import architectural models or 2D drawings into Graphisoft's MEP Designer in MEP
- Creating layouts in Archicad: Master Layouts, Autotexts, graphics, and more in Documentation
