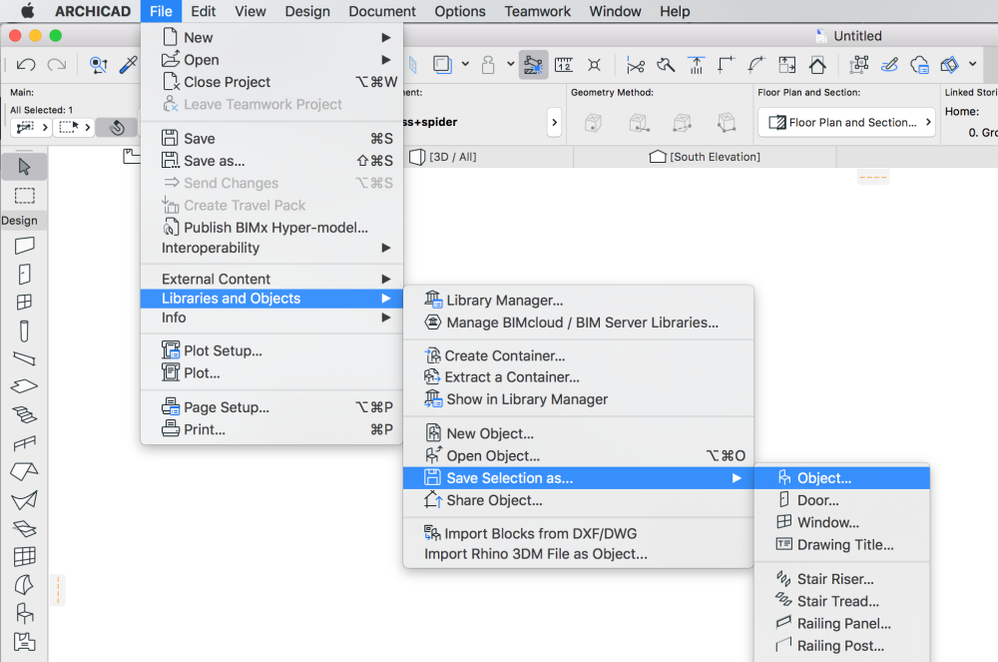
Creating custom components from scratch using the default tools and saving them as objects is a relatively simple way to extend the content libraries thanks to the File/Libraries and Objects…/Save Selection as… command. However this menu doesn’t list Curtain Wall Junctions as an option.
Let us see the trick of converting an existing SketchUp component for example into an Archicad Curtain Wall Junction. (The method is the same when modeling it from scratch with Archicad tools.)
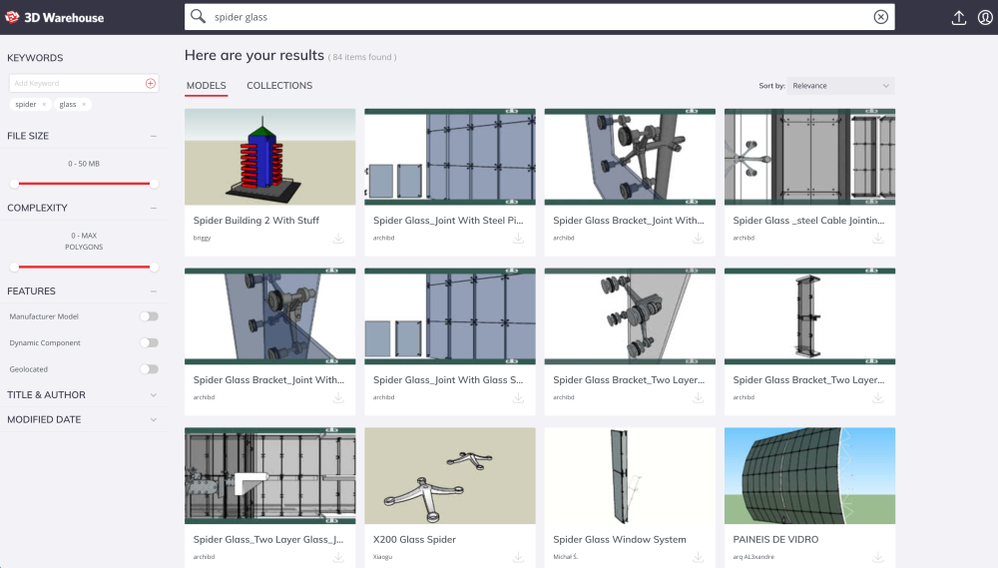
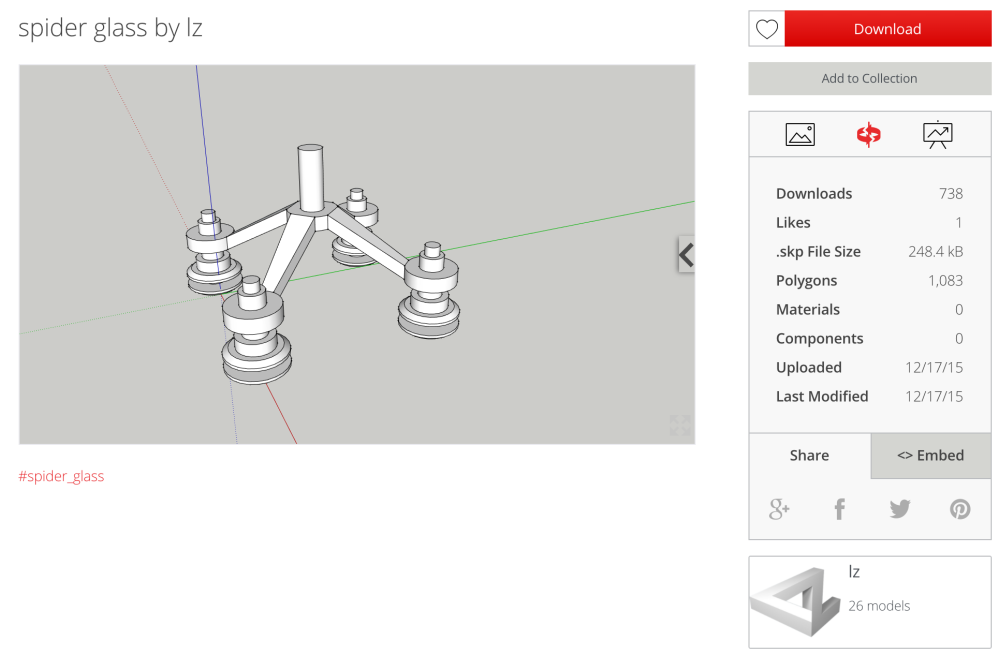
1., Start by downloading an SKP file from the 3D Warehouse. Make sure it is a 2017 Model file, as Archicad cannot read versions from later as for now.

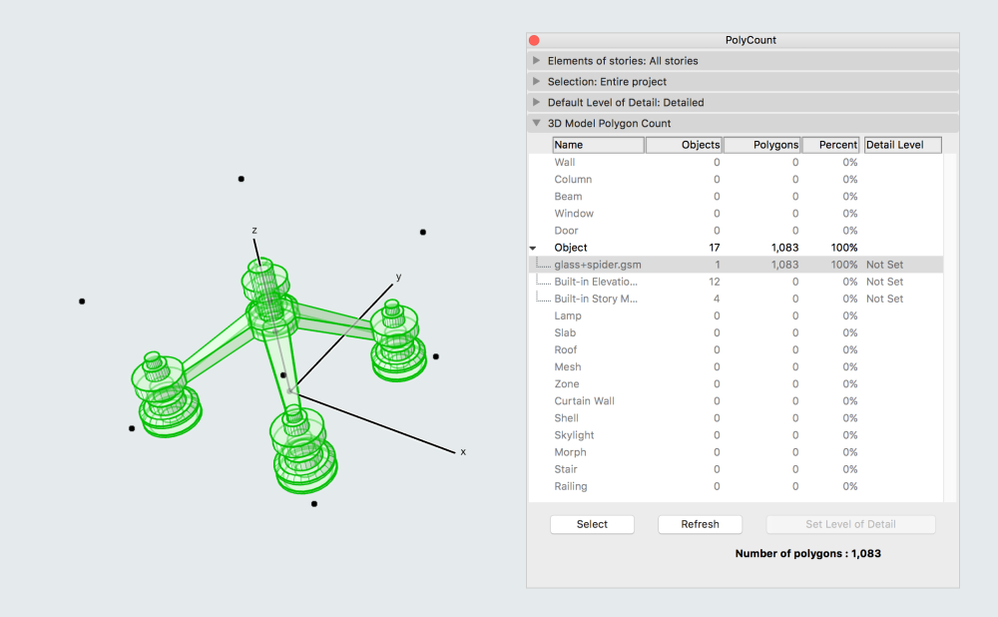
Take care of the polygon count, we will have a huge amount of these items, so even relatively small number of polygons per item can grow fast if many of these objects are used.
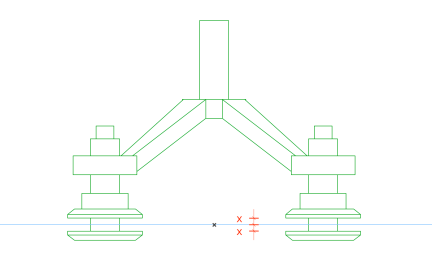
2., Open Archicad and insert the SketchUp file, by Merging, for example. As it is converted to an Object, you may want to resize it. When positioning it, make sure that the center is above the Project Zero.
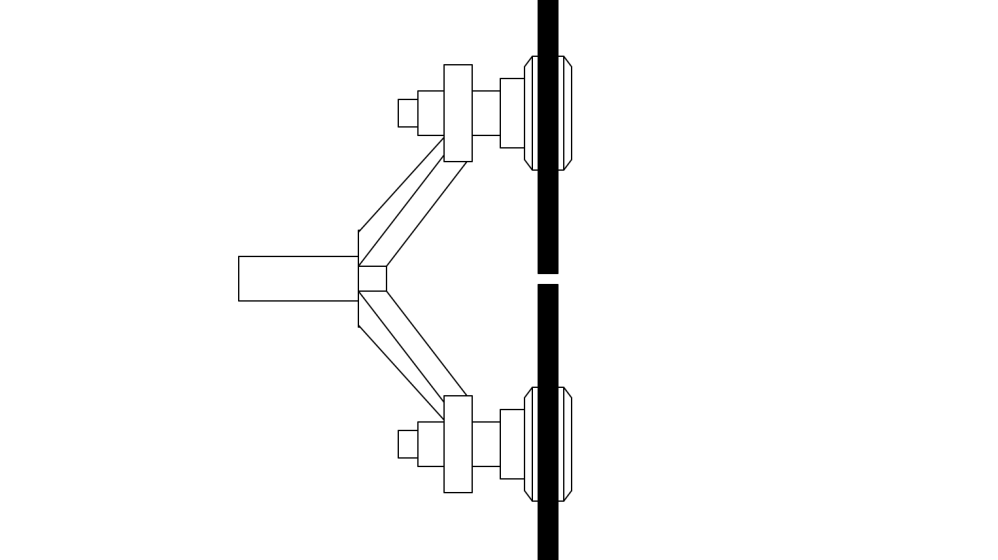
When setting the elevation of the object, make sure that the center of the future glass is at 0.00.
3., If ignored at download, check the PolyCount.
Unfortunately converted objects will always have a meshed representation, which can only be cleaned up by converting the elements to Morphs. Obviously this is not an issue if the component is modeled with Archicad tools.
4., Convert to Morph and set the Edge Type to Hidden.
5., Time to save the converted geometries as an Object:
Note: If converting a SketchUp object, the original will be added to the Embedded library with its textures, therefore it is best to do the object creation in a separate file, other than the actual project.
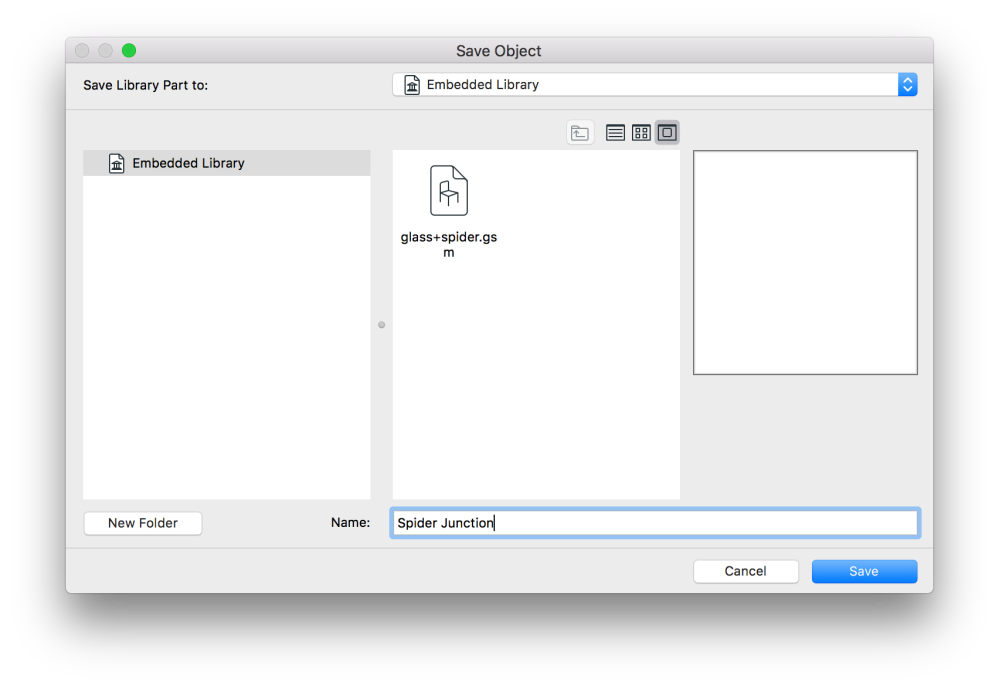
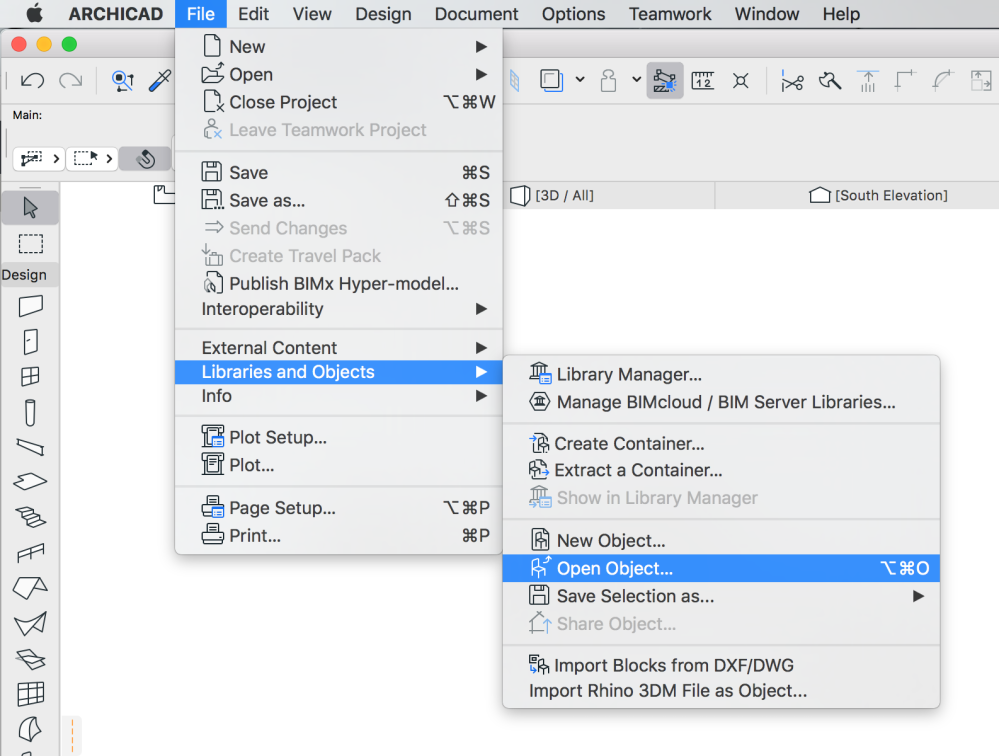
6., As seen in the previous step, the model was only saved as an Object, therefore it still cannot be used as a Junction. Let’s tweak the settings and the GDL script of the object. Open it first from the Libraries.
7., In the GDL Editor click on Select Subtype… and change it to Curtain Wall Junction.
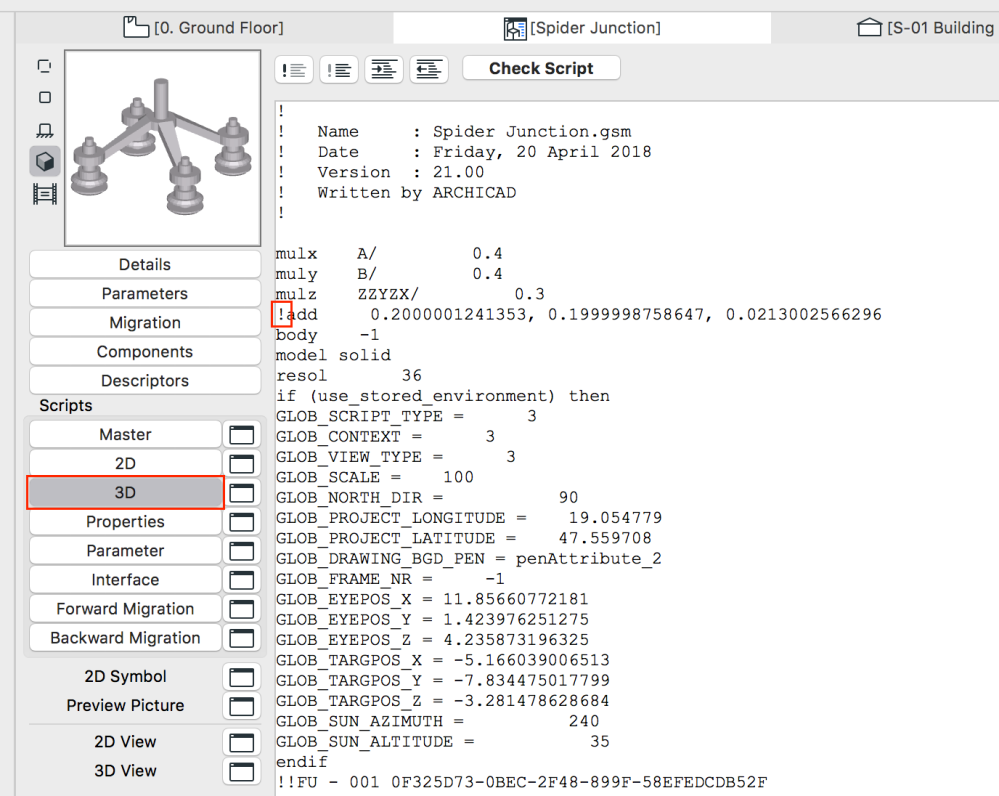
8., Go to the 3D script. Locate the line that starts with add. If this is present then the object would be slightly offset when applied on an actual Curtain Wall. Just type an exclamation mark in front of this line to ‘comment’ it.
9., Save/override the object by File/Save.
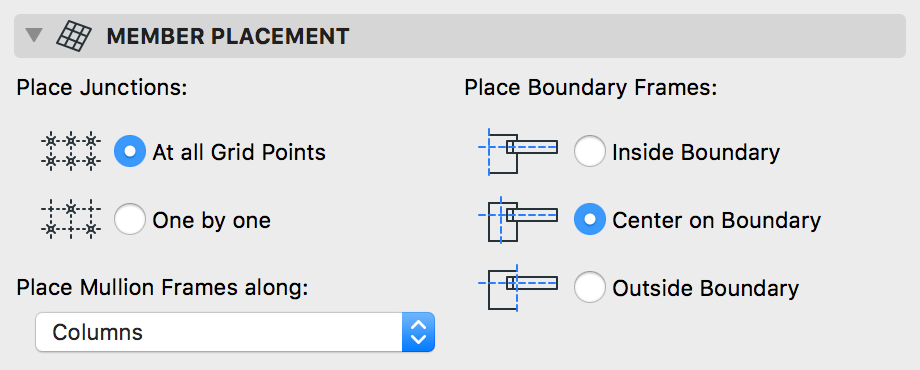
10., Go to the Curtain Wall settings, set the Member placement with At all Grid Points option.
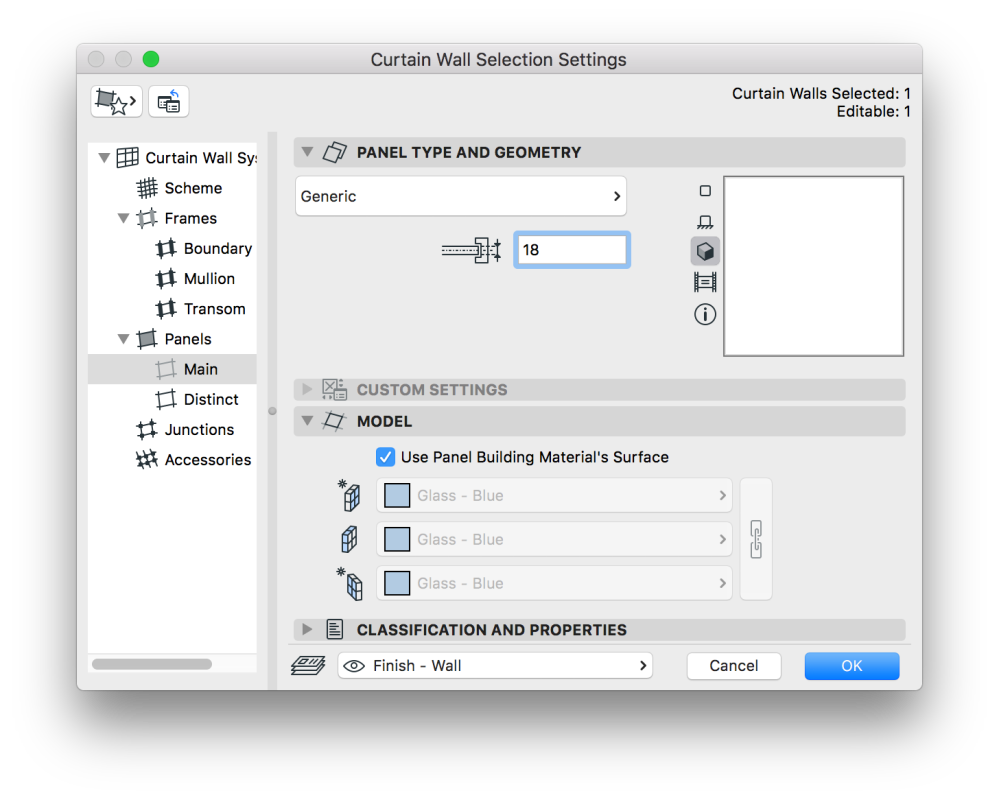
11., Set the panel thickness so it would fit the dimensions of the object.
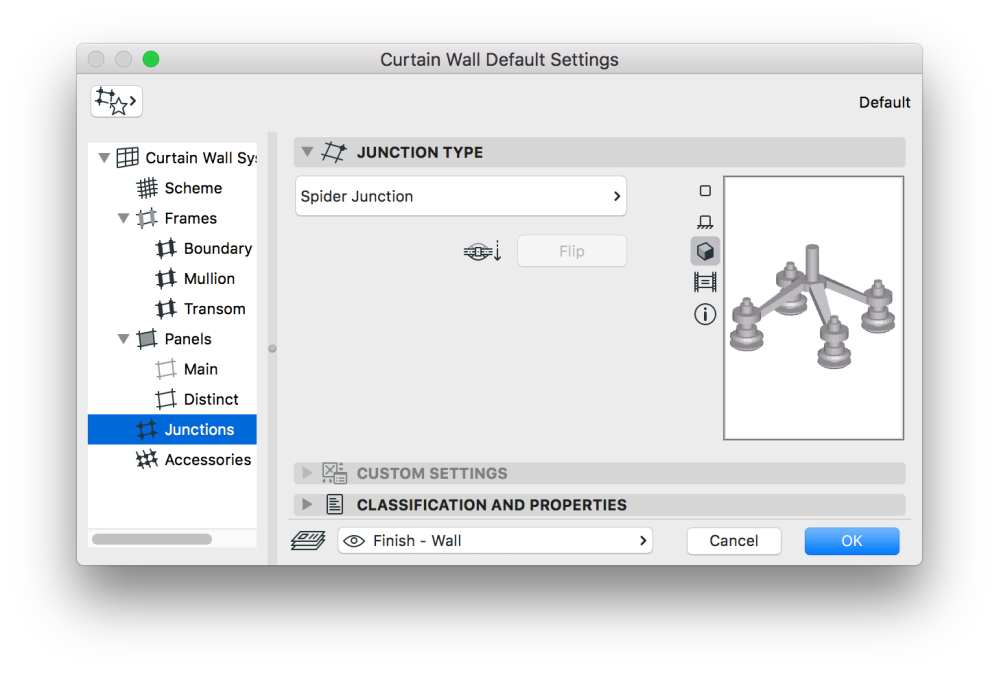
12., Select the custom Junction under Junctions.
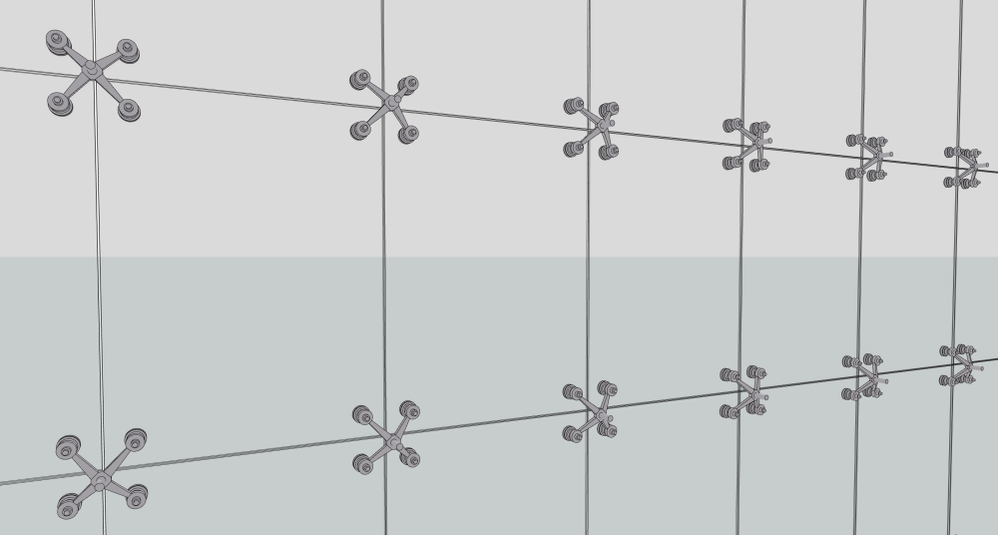
13., Create the Curtain Wall as usual and voilá, nicely fitting Curtain Wall Junctions in each intersection.
For the edges you have to save new Junctions to show half of the spider elements (this is natively solved by the default Junction).

