Turn on suggestions
Auto-suggest helps you quickly narrow down your search results by suggesting possible matches as you type.
Showing results for
EN
Turn on suggestions
Auto-suggest helps you quickly narrow down your search results by suggesting possible matches as you type.
Showing results for
- English
- :
- Knowledge Base
- :
- Visualization
- :
- Perspective sections in Archicad
Options
- Subscribe to RSS Feed
- Mark as New
- Mark as Read
- Bookmark
- Subscribe to Topic
- Printer Friendly Page
- Report Inappropriate Content
Perspective sections in Archicad
on
2018-05-30
02:00 PM
- edited on
2023-05-15
02:44 PM
by
Noemi Balogh
Options
- Subscribe to RSS Feed
- Mark as New
- Mark as Read
- Bookmark
- Subscribe to Topic
- Printer Friendly Page
- Report Inappropriate Content
Labels:
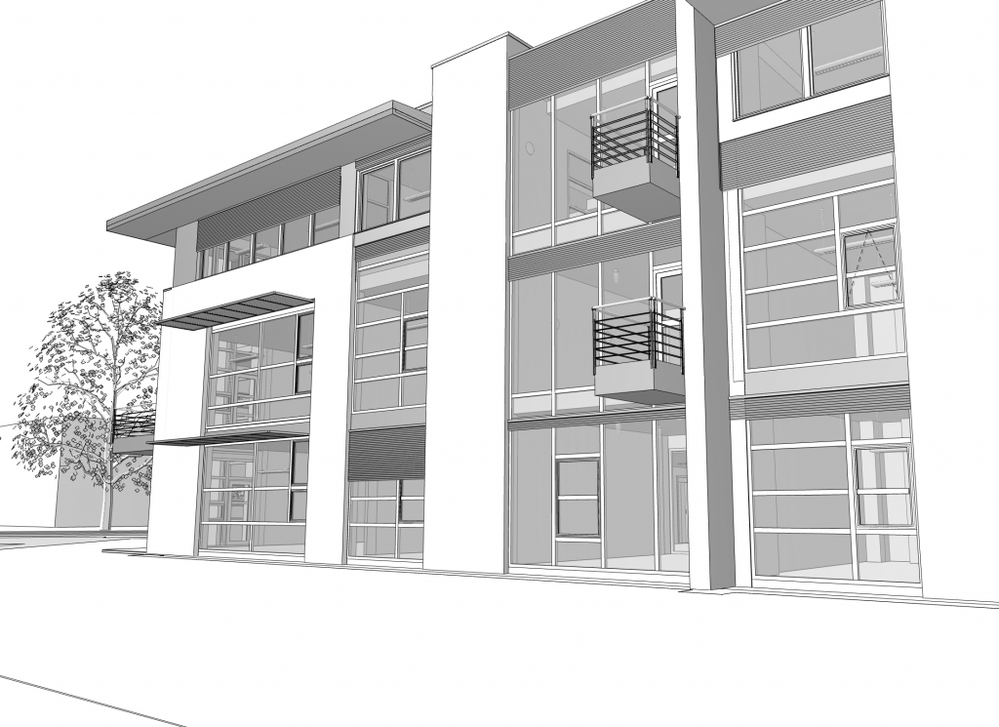
Sometimes the best tool to represent the building is a perspective section, allowing an insight into building spaces. We need to use a 3D cut, a 3D document and some simple Model Display settings to do get this right away.


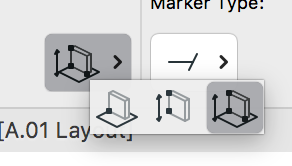
 TIP: By default, the elements inside the Marquee will be displayed and they will be cropped to the marquee area. However, you can adjust the Marquee effect to show the elements outside the marquee instead of those inside: use the Marquee Effect controls in View > Elements in 3D View > Filter Elements in 3D, and choose the Outside Marquee radio button. or 2: Set 3D Cutting Planes: Use the View > Elements in 3D View > 3D Cutting Planes command to open this dialog box. To create a section, draw a line through any of the views which represents a cutting plane perpendicular to the given orthogonal view. The Eyeball cursor appears after you have drawn each line, prompting you to click on whichever side of the line you would like removed. You can see the result of this 3D Cut by turning on View > Elements in 3D View > 3D Cutaway option.

Step 1: Create Model
In our example we are working with GRAPHISOFT HQ building model to demonstrate the workflow of creating a plain 3D Cut view.
Step 2: Cut Model
The 3D window is the source of your 3D Document, so in the next step we need to create a 3D cut view. There are 2 ways to achieve this: 1: Select elements with the thick dashed line contour marquee (All Stories method) on all Stories of the Project. To show only the marqueed elements in 3D, use the View > Elements in 3D View > Show Selection/Marquee in 3D command.

Step 3: Create perpendicular view
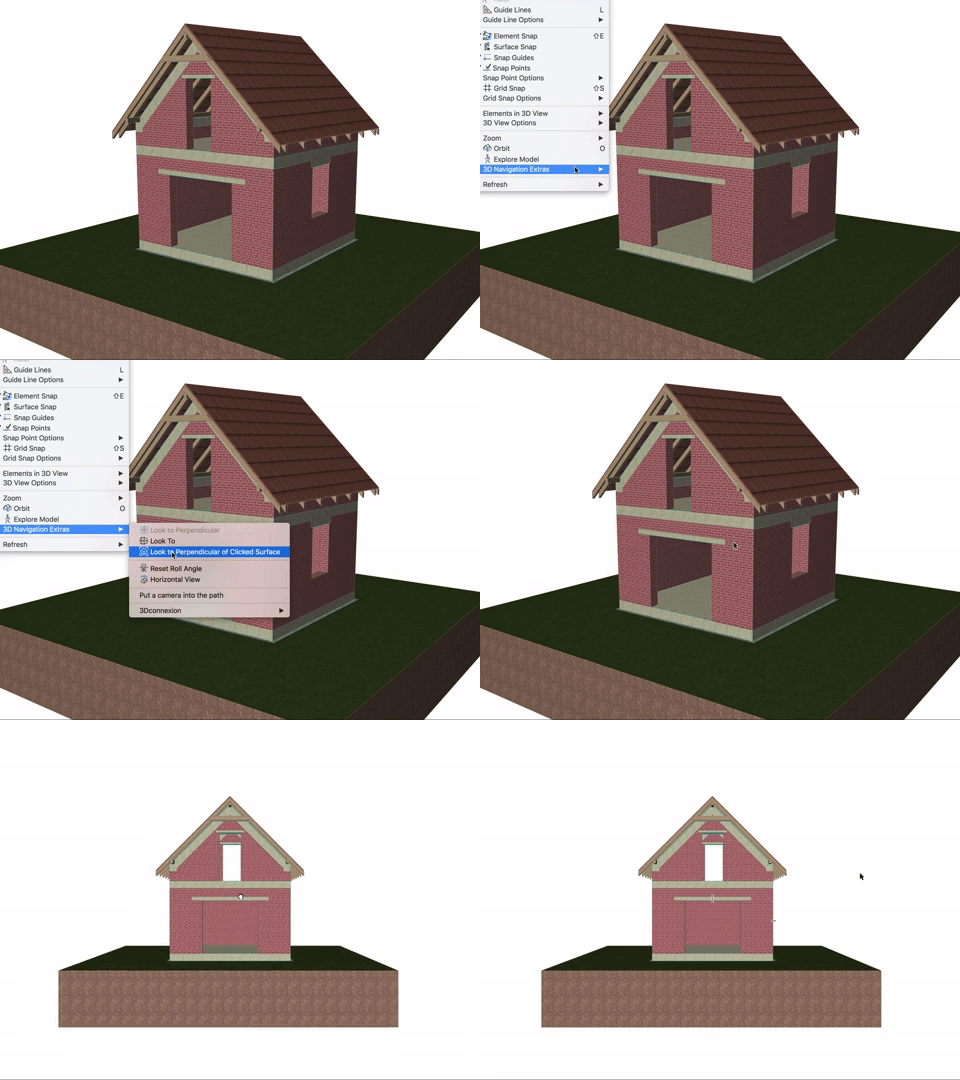
Now we'll use a little trick, the Look to perpendicular of clicked surface" command. It's just as simple as it sounds, it lets us click on a surface in a 3D view and rotates the camera to face it perfectly. Find it under View/3D Navigation extras/Look to Perpendicular of Clicked Surface
Step 4: Create 3D Document
By right clicking on the 3D view (Generic Perpective or Axonometry) in Navigator, you can select "New 3D Document" from the context menu. In the appearing dialog type the Reference ID and the Name of the 3D Document. It will be generated by clicking on Create button. The current view of 3D will be displayedStep 5: Set up the Model Display
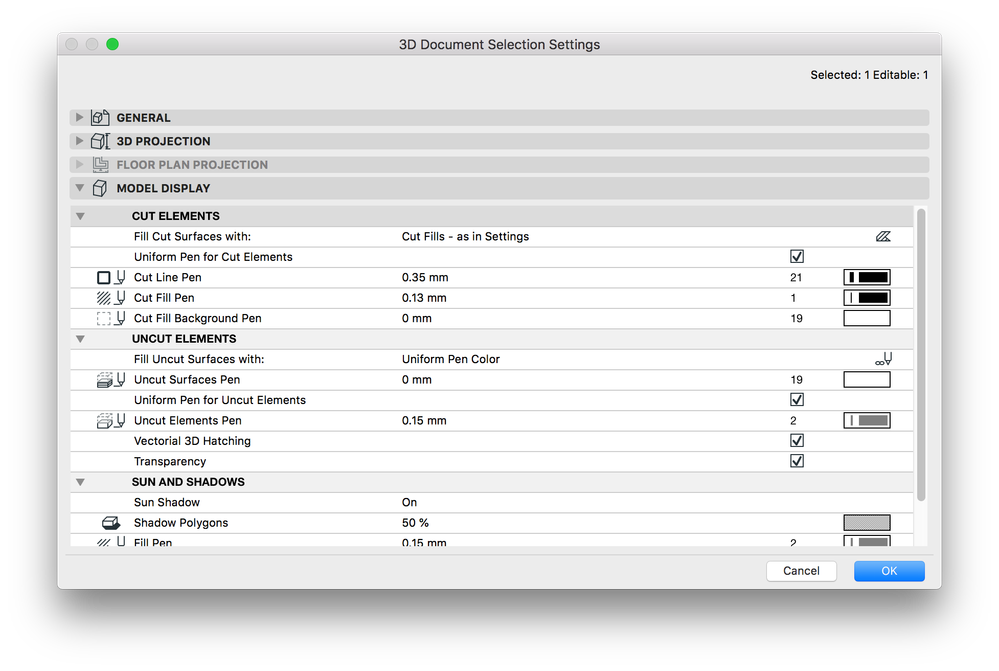
Use the 3D documents own Model Display Settings, we can achieve a more representative look by turning the Shadows on. Changing a few settings as the Fill of Uncut Surfaces and the Uncut and Cut Elements pens.
Step 6: add Dimensions and Extras
The converted 3D view is a document to which you can add dimensions, labels and additional 2D drawing elements. To place them just use Archicad’s dimensioning tools, plus certain dimensioning functions that are available only for 3D Documents.
Suggested topics
- How to control section markers independently from section drawings in Archicad in Documentation
- How to create custom Symbol Fills with embedded fills in Archicad in Modeling
- Creating layouts in Archicad: Master Layouts, Autotexts, graphics, and more in Documentation
- Graphisoft MEP Designer: Quick-start guide for new users in Getting started
- Archicad 29: A glance at the new features in Getting started
