- English
- :
- Knowledge Base
- :
- Getting started
- :
- How to draft 2D Elements in Archicad
- Subscribe to RSS Feed
- Mark as New
- Mark as Read
- Bookmark
- Subscribe to Topic
- Printer Friendly Page
- Report Inappropriate Content
How to draft 2D Elements in Archicad
on
2020-01-13
12:10 PM
- edited on
2021-11-26
10:26 AM
by
Rubia Torres
- Subscribe to RSS Feed
- Mark as New
- Mark as Read
- Bookmark
- Subscribe to Topic
- Printer Friendly Page
- Report Inappropriate Content
Each Archicad project is a complex database consisting of the following items:
- 3D design elements: walls, columns, windows and doors, MEP system elements, etc.
- 2D drafting and documenting elements: lines, arcs, circles, fills, texts, labels, dimensions, and images
- non-visual data (also known as metadata): classifications, properties, renovation status, thermal transmittance, acoustic specifications, etc. that are assigned to the 2D and 3D elements as their attributes and properties. (Some of these can be visualized, you will later see how.)
This is what we call the BIM (Building Information Model).
This article is dedicated to learning about the most basic 2D drafting elements: lines, and fills. Read this article to learn how to draft arcs and cirlcles. To learn these is essential, because creating 3D elements is very similar to drafting 2D elements.
Starting a New Project
To be able to practice what is discussed in this article, it is best if you start a new project. Go to the article The Archicad Interface to learn how to start a new project.
The Working Unit setting in Archicad is defined in the template file the project is based on. (The template file was selected when the new project was started. You will learn more about template files later or you can read this article.) You can change the Working Units settings at Options › Project Preferences › Working Units.

These units apply to all coordinate inputs, such as the length of a line or the thickness of a wall.
The Line Tool
You can find the Line Tool in the Document folder of Toolbox. You have to open this folder by clicking on the dark gray area first if the folder is closed.
The chosen tool is highlighted in light blue (on Windows) and in dark grey (on macOS).
Note: one-click activates/selects the tool, a double-click selects the tool and opens the tool's Default Settings dialog. It shows all the current settings of the tool that are going to be applied to the element that you create using the tool. The Default Settings dialog and its content will be discussed in-depth later in another article.
Also, the content of the Info Box changes according to the selected tool and shows the default settings for the activated tool:

When using the Line Tool, you can select between four different Geometry Methods:

- Single
- Chained
- Rectangular
- Rotated Rectangular
Single
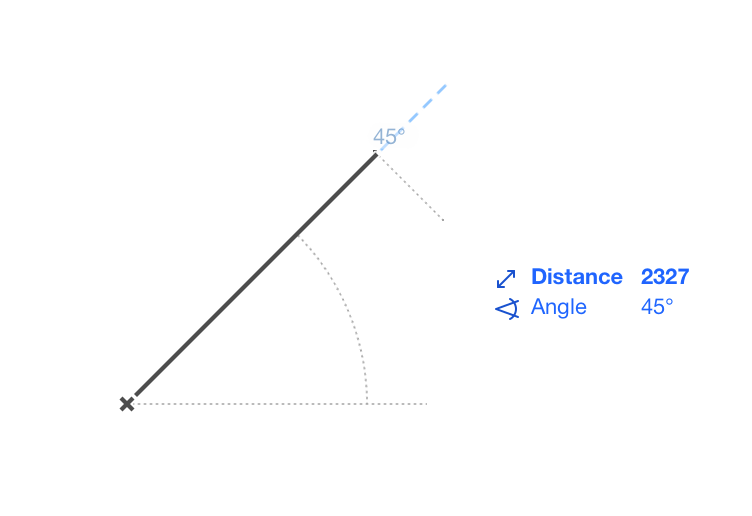
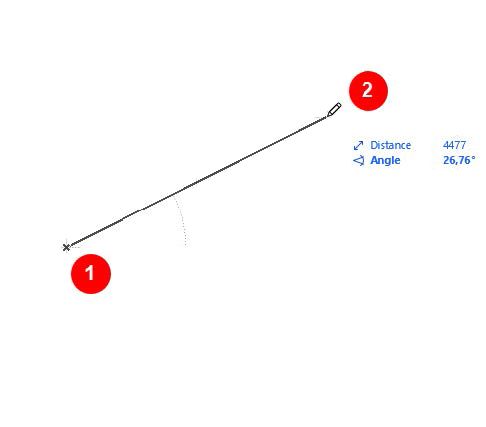
A single line is defined by two points. Start the line by clicking anywhere in the empty workspace. Now move the cursor and click again to complete the line. Until completion with the second click, the line is "elastic", stretching between the start point and the current position of the cursor.
Chained
This Geometry Method creates a chain of lines. The start point is indicated by the first click. The second click is the endpoint of the first segment as well as the start point of the second one. This could be continued almost endlessly. To finish the chain of lines click on the end point of the last segment once more.

Rectangular
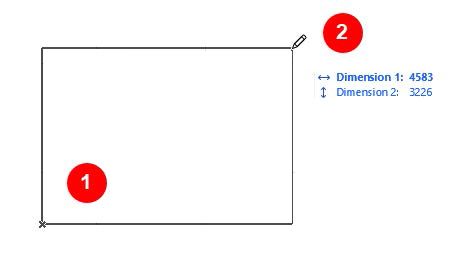
This Geometry Method defines a rectangle indicated by two diagonal points. Four single lines will be automatically created.
Rotated Rectangular
This method defines a rotated rectangle consisting of four separate lines. The first click indicates the start point. The second one indicates the first side length and the angle of rotation at the same time. The third click completes the rectangle by defining the second side length.

Watch this short video to see how to select the tool and work in each of the four geometry methods:
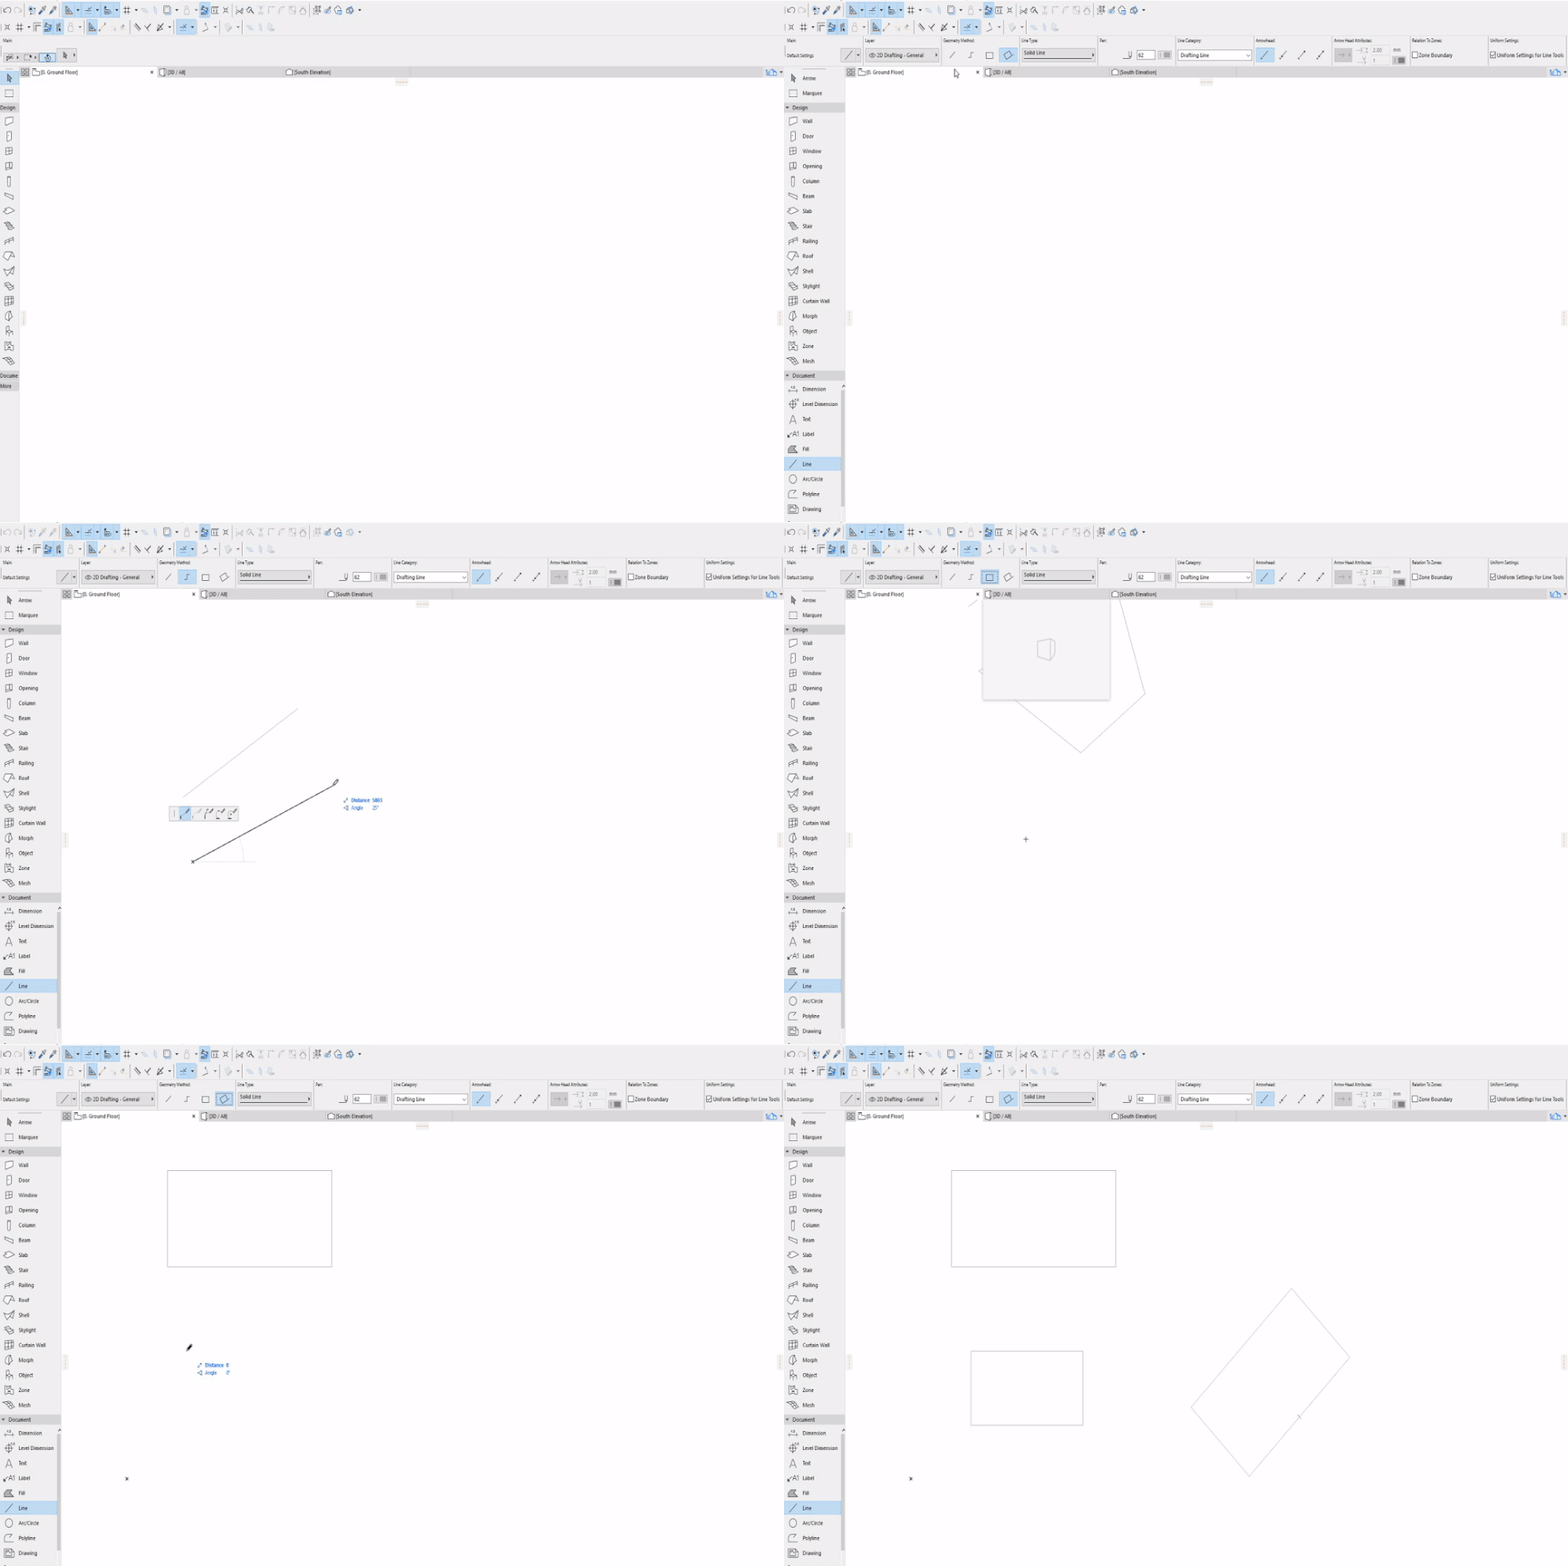
Further Options for the Chained Geometry method
When you select the chain option, during the drawing process, a small palette, called Pet Palette appears. The options offered on the palette are the following:

- The first creates a straight line
- The second creates a tangent arc to the endpoint (is available only if at least one segment is already created, which acts as the tangent).
- The third creates an arc by defining a tangent and the endpoint.
- The forth creates an arc based on three points of the arc circumference.
- The fifth creates an arc based on the center point and the radius.
The Fill Tool
You can find the Fill Tool in the Document folder of Toolbox. You have to open this folder by clicking on the dark gray area first if the folder is closed.
The Info Box now shows the default settings of the Fill Tool:

When using the Fill Tool, you can select between three different Geometry Methods:
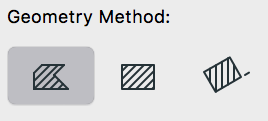
- Polygonal
- Rectangular
- Rotated Rectangular
Lines, arcs, and fills can be independent elements you can place in all sorts of viewpoints and views, except in 3D. They are also used in the 2D and 3D representations of more complex Archicad elements, such as walls, slabs, etc.
-
Fills in 2D -
The same fills used on walls in 3D
There are further 2D drafting tools in Archicad: the Polyline Tool, the Spline Tool and the Hotspot Tool. You can learn more about them from these User Guides:
Didn't find the answer?
Check other topics in this Forum
Back to ForumRead the latest accepted solutions!
Accepted Solutions- Carve niches, shafts & facades: Opening Tool's hidden power in Archicad in Modeling
- Control door orientation text in Archicad Schedules with Properties in Documentation
- Calculate total roof site coverage area with overlaps in Archicad in Modeling
- Filter sub-elements from schedules using expressions in Documentation
- How to create custom Symbol Fills with embedded fills in Archicad in Modeling
