- Graphisoft Community (INT)
- :
- Knowledge Base
- :
- Libraries & objects
- :
- How to create Custom Object Components
- Subscribe to RSS Feed
- Mark as New
- Mark as Read
- Bookmark
- Subscribe to Topic
- Printer Friendly Page
- Report Inappropriate Content
How to create Custom Object Components
- Subscribe to RSS Feed
- Mark as New
- Mark as Read
- Bookmark
- Subscribe to Topic
- Printer Friendly Page
- Report Inappropriate Content
on
2021-07-28
12:33 PM
- edited on
2023-05-15
02:56 PM
by
Noemi Balogh
For an overview of the Custom Component feature, see Create Custom Components:Example Workflows
In this Tech Tip we will show how to create a custom object component, in this case a custom door panel for a Basin Cabinet
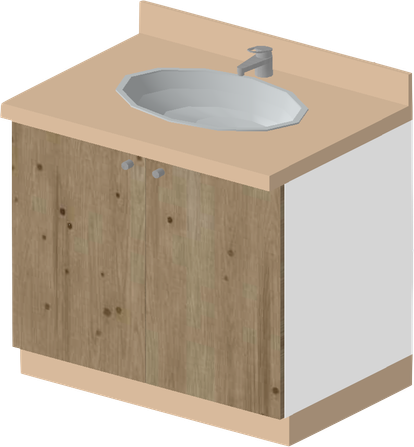
We placed the Basin Cabinet 25.gsm file onto the Floor Plan. Here is how it looks in 3D:
Step 1: Creating the Geometry
We want to measure the dimensions of the cabinet door panel, so let's create an Elevation or Interior Elevation line on the Floor Plan in front of the Cabinet. The line should be parallel to the face of the Cabinet because we want to get an orthogonal elevation view of it.
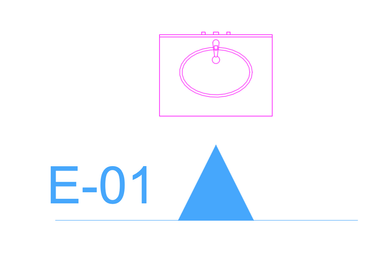
Step 2: Go into the (Interior) Elevation View and measure the Panel size
Measure the size of one door panel. (Use the Measure Tool, the Tracker or the Coordinate Box.) This size will be your custom panel size. In our example, this is 447mm wide by 747 mm high.
Step 3: Draw the Panel on Floor Plan
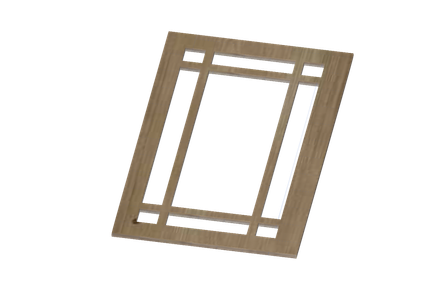
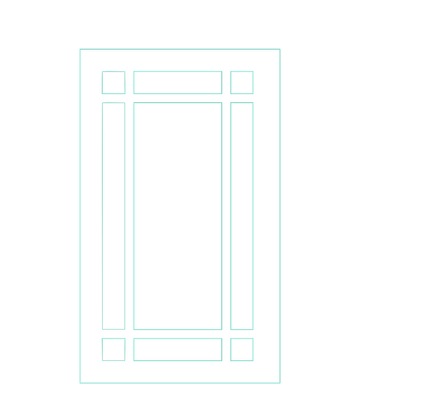
Go back to the Floor Plan, and using Slabs, draw the geometry of one Door Panel. In our case, we will create a sort of a Prairie Style panel. Assign them the pens and materials you wish to see in 2D/3D.

Select all elements just drawn.
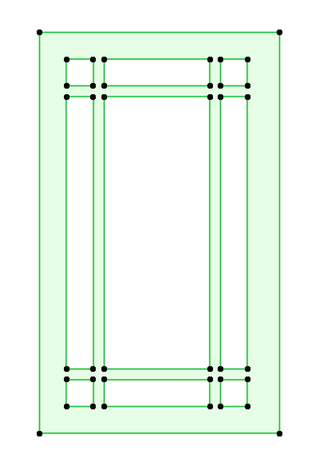
Step 4: Save Custom Component
Use the File > Libraries and Objects > Save Selection as... > Cabinet Door... menu command to save these elements.

In the next dialog, you can give the new panel a name and choose it's location. Press save to finalize.

Step 5: Applying the new panel
Select the Basin Cabinet Object on the Floor Plan or 3D, and go to its Settings Dialog.

From BASIN CABINET SETTINGS tab, Choose Door..., Then from the Door Styles Menu, pick Custom...
Click the right-pointing arrow to the right of the Custom Panel Name, and choose the name you have picked for your door panel.
Click OK to accept changes and go to the 3D Window to see the result.

Using PARAM-O to easily create custom objects
Now available as a built-in feature of Archicad 24 Update 3, PARAM-O makes the process of creating custom objects easier and more intuitive.
Read more about PARAM-O here.
- Mark as Read
- Mark as New
- Bookmark
- Permalink
- Report Inappropriate Content
Hi Nouras,
Is the terminology changed on AC25? I don't see Door Styles, guessing it is replaced by Front Panel. Will that be correct?
However, even I followed all the steps suggested, there was nothing available to be selected within "Front Panel"/"Panel Style".
I've checked "Embedded Library" and confirm the custom-made cabinet door is inside Embedded Library. I have even Reload & Apply the library and tried again, but still no luck.
Any advice will be appreciated. Thank you.
Eddie
AC25 build 5010
- Mark as Read
- Mark as New
- Bookmark
- Permalink
- Report Inappropriate Content
Hi @Eddie W,
I could quickly reproduce the steps described above in Archicad 25 INT version. In "Door Styles", you need to go to the bottom of the list and select "Custom ..." to be able to assign your unique design from the Embedded Library. Still, if you cannot replicate these steps on your project, please share screenshots with us.
I look forward to news.
Cheers,
Rubia Torres
Junior Customer Engagement Expert | GRAPHISOFT SE
Need help refining your modelling skills?
Check our Design category for the best workflow + tips&tricks!
- Smart roof editing in Archicad: When to crop, When to trim, When to use SEOs in Modeling
- MEP Designer - Overview in MEP
- How to customise your curtain wall in Archicad? in Modeling
- Default Library Packs in Each Archicad Language Version in Libraries & objects
- Migrating Custom Components for Compatibility with Library Packages in Libraries & objects


