Turn on suggestions
Auto-suggest helps you quickly narrow down your search results by suggesting possible matches as you type.
Showing results for
EN
Turn on suggestions
Auto-suggest helps you quickly narrow down your search results by suggesting possible matches as you type.
Showing results for
- English
- :
- Knowledge Base
- :
- Modeling
- :
- How to create Balusters in Archicad
Options
- Subscribe to RSS Feed
- Mark as New
- Mark as Read
- Bookmark
- Subscribe to Topic
- Printer Friendly Page
- Report Inappropriate Content
How to create Balusters in Archicad
on
2012-03-08
11:25 AM
- edited on
2021-11-29
07:49 AM
by
Rubia Torres
Options
- Subscribe to RSS Feed
- Mark as New
- Mark as Read
- Bookmark
- Subscribe to Topic
- Printer Friendly Page
- Report Inappropriate Content
Labels:
Revolved elements can be created using Complex Profiles, Shells or Morphs. In this example we are using Complex Profiles to create custom-shaped balusters.
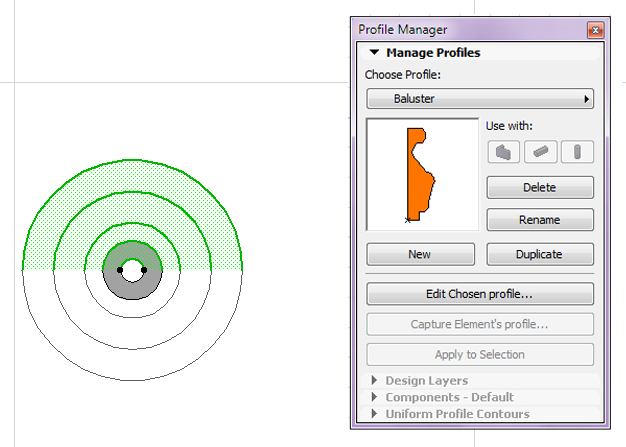
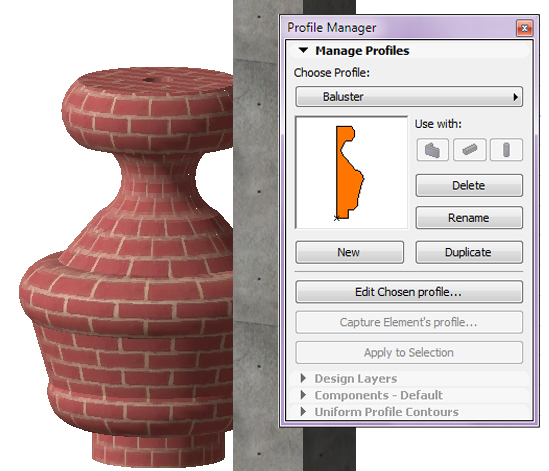
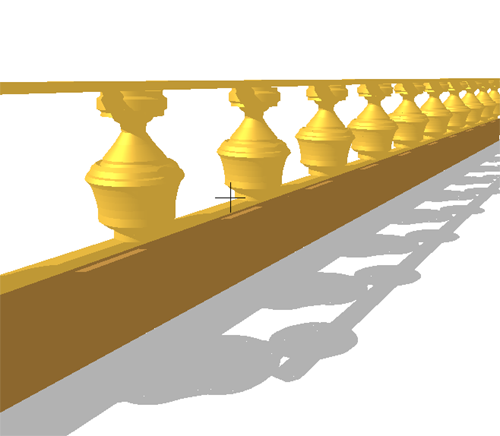
 Place a profiled wall with the complex option. You can use the Multiply command to place extra copies with a desired distances. Place Slab or Beam above and below them to complete the railing.
Step 1: Draw Profile
Create a Complex Profile of the Baluster that you want to use. Make sure to keep one edge straight as you will be rotating this profile with the curved wall later.Step 2: Save Profile
Click Store Profile to name and save the profile you have edited. The structural element's button which you want to use the profile with, should be checked (this case Wall button).Step 3: Apply Profile for Wall
Go to the Wall Setting dialog and select the new complex profile for your wall (Wall complexity: Complex » Complex Structure: your own Profile).Step 4: Create Baluster with Wall
Place one half-circle of your baluster with Wall Tool in the desired size. Select the half-circle and mirror a copy of it to get to a full 'baluster'.

Step 5: Create Railing
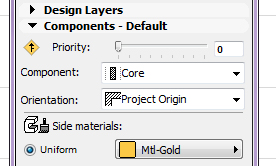
You can use this Baluster element as a real railing: Create the profile. Make sure you set the proper materials in the profile editor. In the Components - Default tab set the Side Materials to the material of the baluster element you wish to use. The default setting is the Brick as shown on the images above but you can change it to any material just like in the image below.

Step 6: Save Railing as an Object
Save your railing as a GDL object if further editing/parametering is desired:- Go to 3D window and select: view - 3D View Mode - 3D Projection Settings
- In the appearing dialog choose the Parallel Projection option to set the 3D window to TOP view.
- Then select all the parts and group them so you can move all the elements in one.
- Select your railing and save it in: File - Libraries and Objects - Save 3D Model as
- Save your railing as a Library Part.
Still looking?
Browse more articles
Back to articlesSee latest solutions
Accepted solutionsStart a new discussion!
Suggested topics
- Carve niches, shafts & facades: Opening Tool's hidden power in Archicad in Modeling
- Control door orientation text in Archicad Schedules with Properties in Documentation
- Calculate total roof site coverage area with overlaps in Archicad in Modeling
- Filter sub-elements from schedules using expressions in Documentation
- How to control section markers independently from section drawings in Archicad in Documentation
