- English
- :
- Forum
- :
- Collaboration with other software
- :
- Re: Cinerender Surface Materials problem
- Subscribe to RSS Feed
- Mark Topic as New
- Mark Topic as Read
- Pin this post for me
- Bookmark
- Subscribe to Topic
- Mute
- Printer Friendly Page
- Mark as New
- Bookmark
- Subscribe
- Mute
- Subscribe to RSS Feed
- Permalink
- Report Inappropriate Content
2022-11-19 01:06 PM - edited 2022-11-19 01:12 PM
Cinerender Surface Materials problem
Hi there,
I am trying to create materials from a CG Axis Material Pack.
I am not sure to which channels i put the materials and also to which intensity.
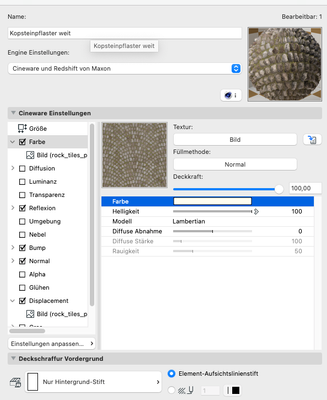
At the moment i am at this point:
Diffuse ---> to color channel (100% intensity)
Albedo --> ?
Glossiness ---> ?
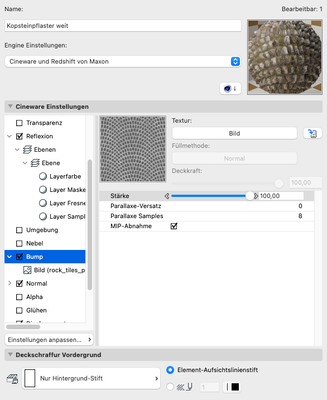
Roughness ---> to bump channel (how much intensity?)
Height / Displacement --> to displacement cannel
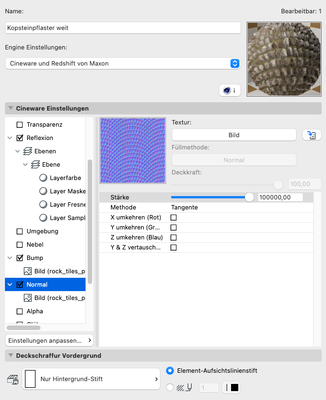
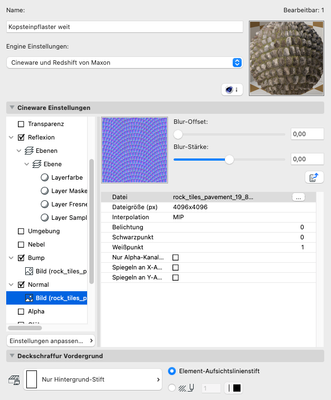
Normal --> to normal channel (how much intensity?)
Reflection ---> I guess to the reflectance channel, but i don't understand the layering system and where to add maps
Ambient Occlusion ---> ?
If anyone could explain me for each map to what channel it has to go, and how to know the intensity it would be super helpful..
Another thing:
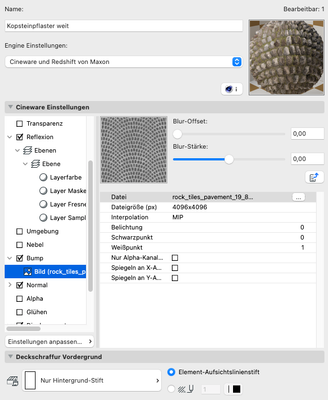
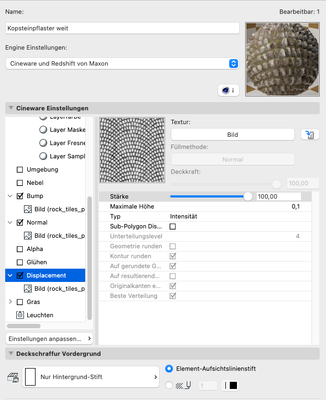
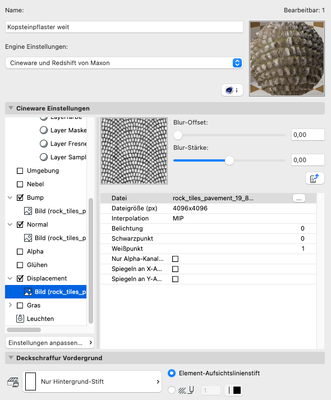
Right now i added the color, bump, normal, and displacement, but i have the feeling no map does anything to the result, except for the diffuse /color map. I have all channels on stong intesity to be sure to see changes in the result, but nothing changes. in the material preview it also shows e.g. strong displacement, but not in the result. Does someone have an idea why?
I attach some screenshots. Maybe they help to understand.
Thank you so much!
Felix
Solved! Go to Solution.
Accepted Solutions
- Mark as New
- Bookmark
- Subscribe
- Mute
- Subscribe to RSS Feed
- Permalink
- Report Inappropriate Content
2022-11-19 06:42 PM
First: You should have a look at the tutorials of @Carstenem, some are on YT and he also posts them here.
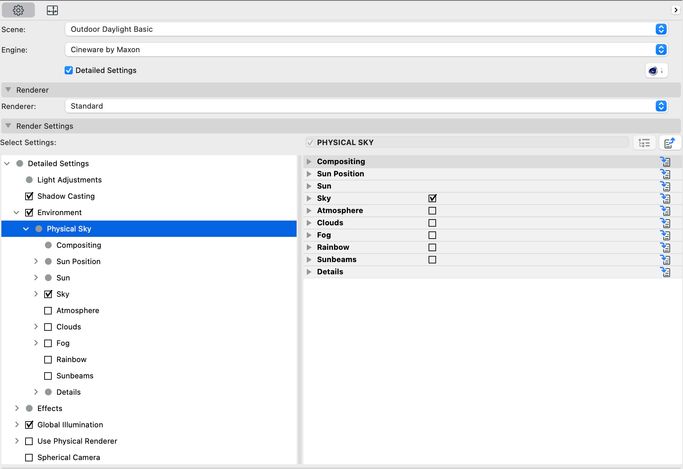
Second: Try and use the "Detailed Settings" in the photorealistic settings palette. The simple one does not cut it imho.
For proper displacement in general you'll need to enable "Sub-Polygon Displacement".
Some other bits of information I gathered over time:
There are two different modes for PBR (phsyically based rendering):
- Specular, sometimes refered to as Glossiness
- Metalness, also called Roughness
While the metalness workflow has been established with all real-time renderers (like Unreal and Unity), the most conventional renderers still use the specular workflow. Cineware can't do metalness, Redshift can. ALL renderers "understand" specular, so you're safe to use that, if you can choose, choose it (some online download platforms let you do that).
I'd probably put them maps like this:
Diffuse → Color
Albedo → Color
Glossiness → Reflectance
Roughness → invert to have glossiness basically
Height / Displacement → Bump or Displacement
Normal → Normal
Reflection → Reflectance too, but it's complicated tpoic
Ambient Occlusion → Diffuse
My List of AC shortcomings & bugs | I Will Piledrive You If You Mention AI Again |
POSIWID – The Purpose Of a System Is What It Does /// «Furthermore, I consider that Carth... yearly releases must be destroyed»
- Mark as New
- Bookmark
- Subscribe
- Mute
- Subscribe to RSS Feed
- Permalink
- Report Inappropriate Content
2022-11-19 11:38 PM - edited 2022-11-19 11:39 PM
Just to add to runxel's comment with a screenshot of the Detailed Settings for Photorendering Settings. There are an insane number of settings available here to let you fine tune things and access features that are otherwise hidden. There is still no way to change column widths (at least on Mac) so you need to make the dialog window wider to be able to read everything. In simple mode (your screenshot), you're missing 99% of the features...including being able to enable 3D grass, for example.
AC 29 USA and earlier • hardware key • macOS Taho 26.5 MacBook Pro M2 Max 12CPU/30GPU cores, 32GB
- Mark as New
- Bookmark
- Subscribe
- Mute
- Subscribe to RSS Feed
- Permalink
- Report Inappropriate Content
2022-11-20 02:31 PM - edited 2022-11-20 02:34 PM
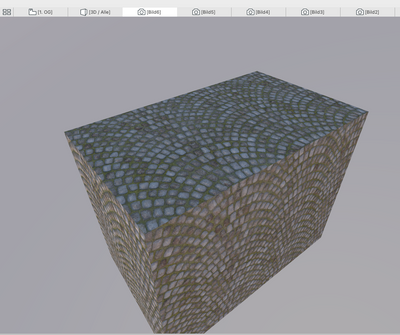
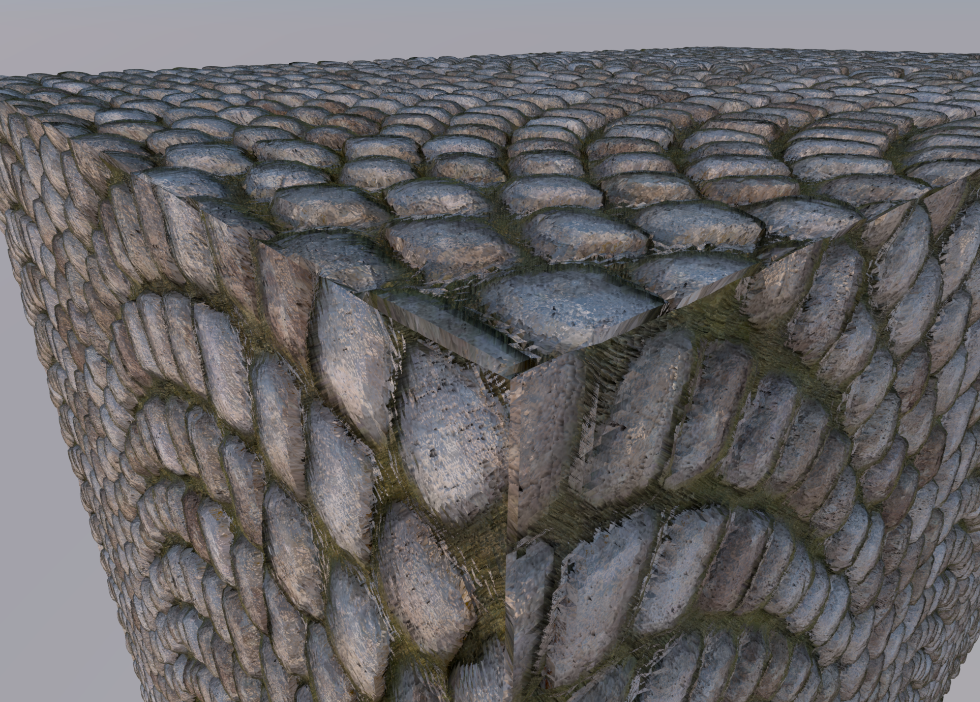
Thanks a lot for the clarification. the Sub-Polygon Dsplacement was the trick. And now I know about which map to put where! In the center of faces it looks fine for me now, but around adges it seems pretty off.. do you know how i can correctly wrap the objects to receive seamless edges?
And if you see the Render, any idea which map is maybe too strong or which setting is off, to create these artefacts?
Thanks so much for your help! : )
Felix
- Mark as New
- Bookmark
- Subscribe
- Mute
- Subscribe to RSS Feed
- Permalink
- Report Inappropriate Content
2022-11-20 02:33 PM
Thanks for this helpful info, now I understnd why i never saw any details!
- Mark as New
- Bookmark
- Subscribe
- Mute
- Subscribe to RSS Feed
- Permalink
- Report Inappropriate Content
2022-11-20 10:32 PM
Just saw your topic and it looks like it is sorted. Thanks @runxel runxel for mentioning my YT free Cinerender tutorials.
@FelRei if you still need more knowledge on how to use Cinerender you can always check out my course here: CineRender Course Outdoors
Cheers Carsten
www.asmtechbase.com
https://www.youtube.com/asmtechbase
AC 3 to 26 -Windows 7 - 24GB - 8core 4.4Ghz
- Mark as New
- Bookmark
- Subscribe
- Mute
- Subscribe to RSS Feed
- Permalink
- Report Inappropriate Content
2022-11-21 09:02 AM
Hi Carsten, oh yeah they look really interesting. I'll check them out.
One question was still open for me, which I sent as a replie to runxels answer. It refers to the mapping of textures around objects. As seen in the screenshot, the object is not wrapped correctly. I don't understand how to edit the wrapping / mapping in Archicad.
Do you have any hints on this?
Best
Felix
Still looking?
- Architect Vacancy - Dubai Based - ELE Interior Design - Archicad essential. in General discussions
- Cineware by maxon add-on has unexpectedly closed. - Windows, all Archicad versions - Solution in Visualization
- Material Intersection Priority / Composite Problem in Modeling
- Simplify Cinerender material parameters in Visualization
- XML Import via code in Project data & BIM
